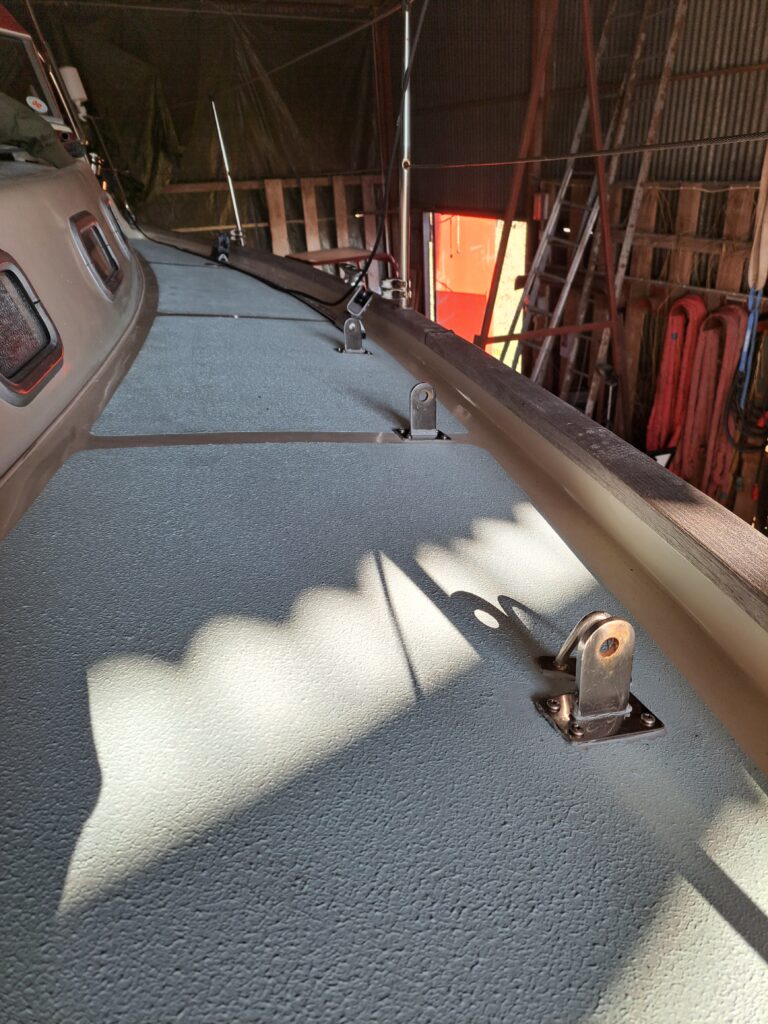
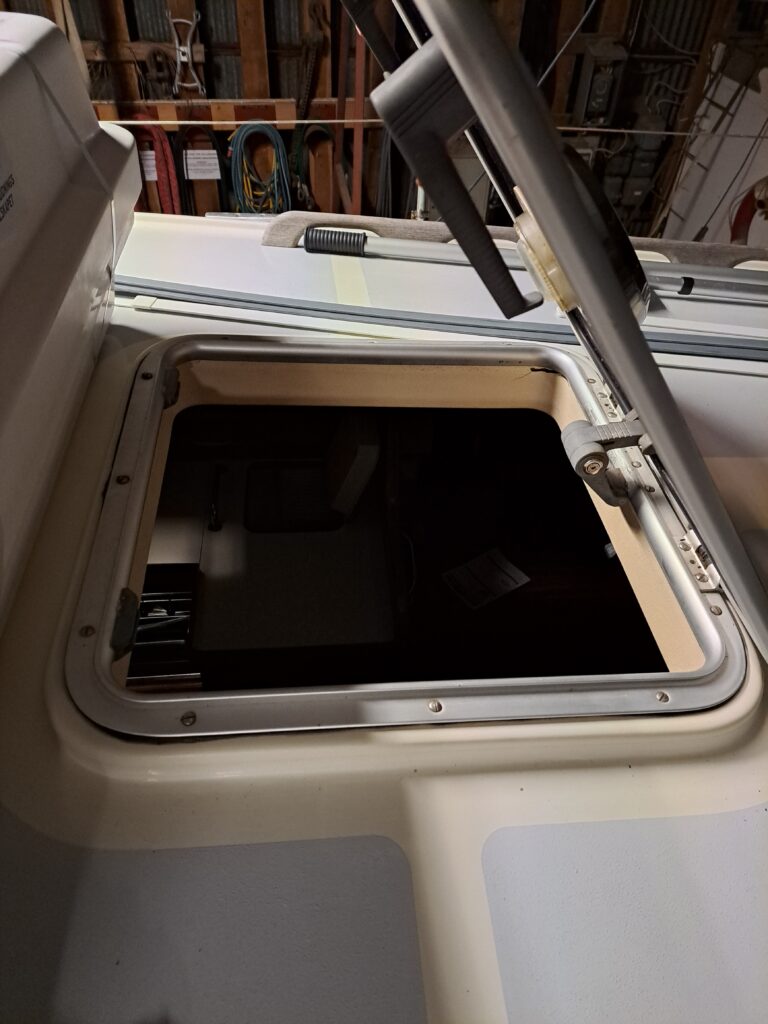
Replacement of top window
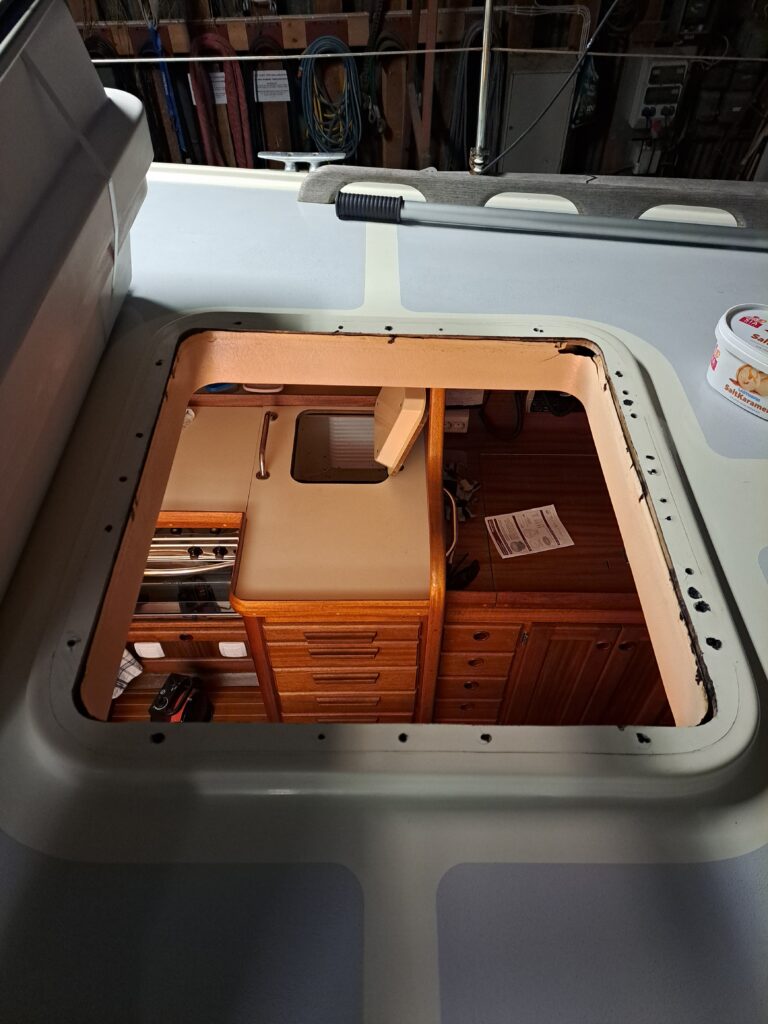
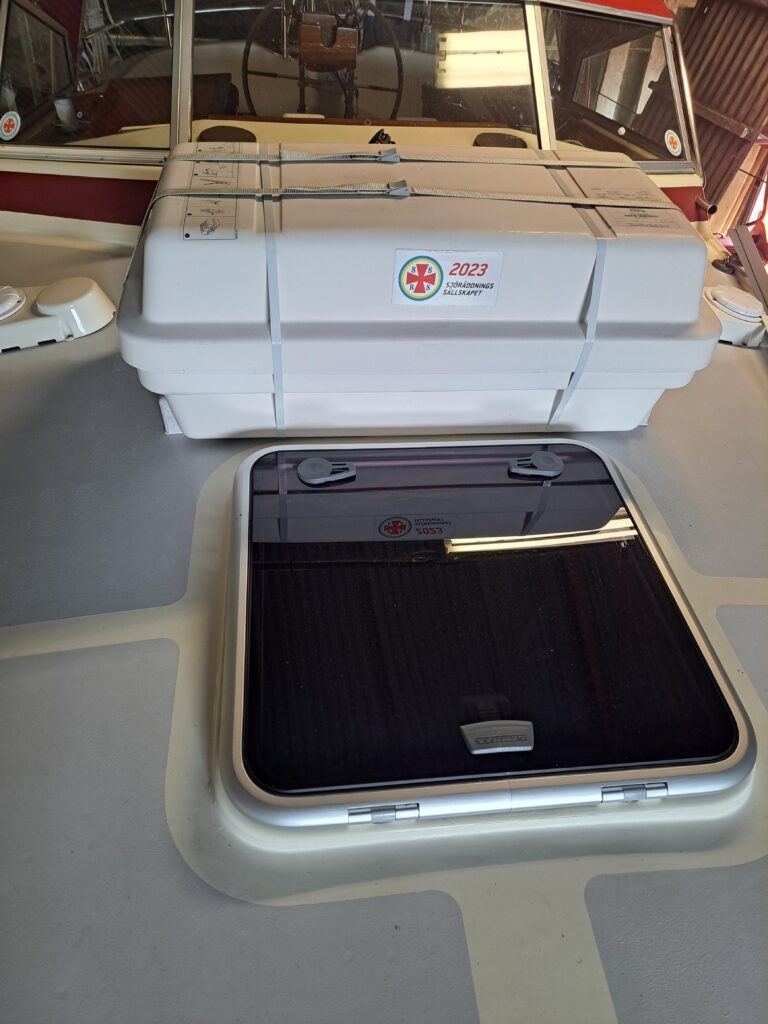
The initial plan was only to replace the glass of the top window and the sealing but some parts of the hatch started to break when dismantling so we decided to replace the entire hatch. When removing the hatch, we also discovered that one area was actually not tight. If that hatch was not leaking during the summer, it was on the way to. One potential future headache less.
Wheel cover
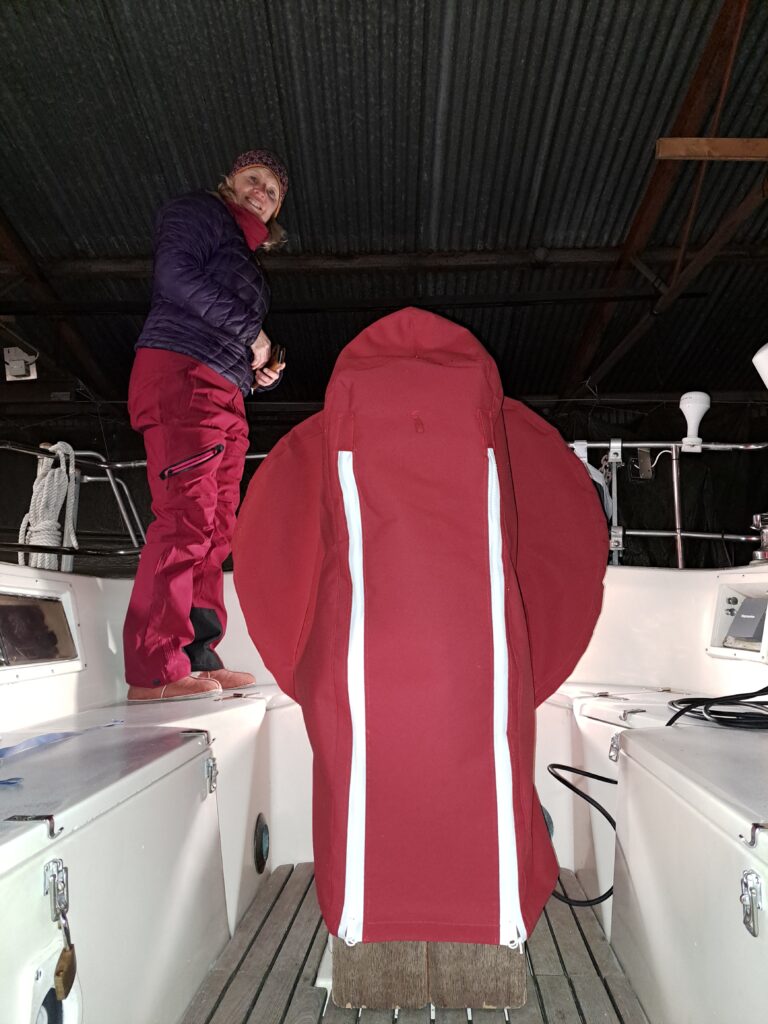
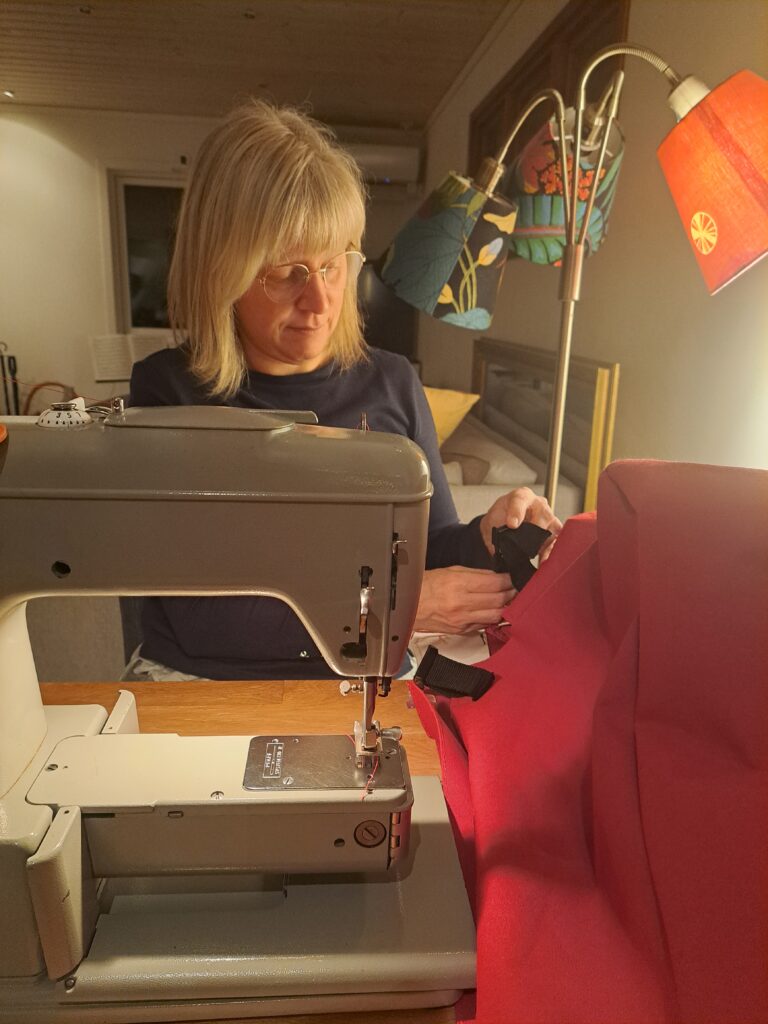
We sew a new cover for the wheel and steering pedestal to protect from the sun and rain when the boat is not in use. Starting from a paper model, then upscaling to real size and testing on a cheap blanket, the last step was to fit the final version in canvas fabric. This fabric behaved quite differently from the cotton blanket, but we are very happy with the final result.
Outboard motor cover
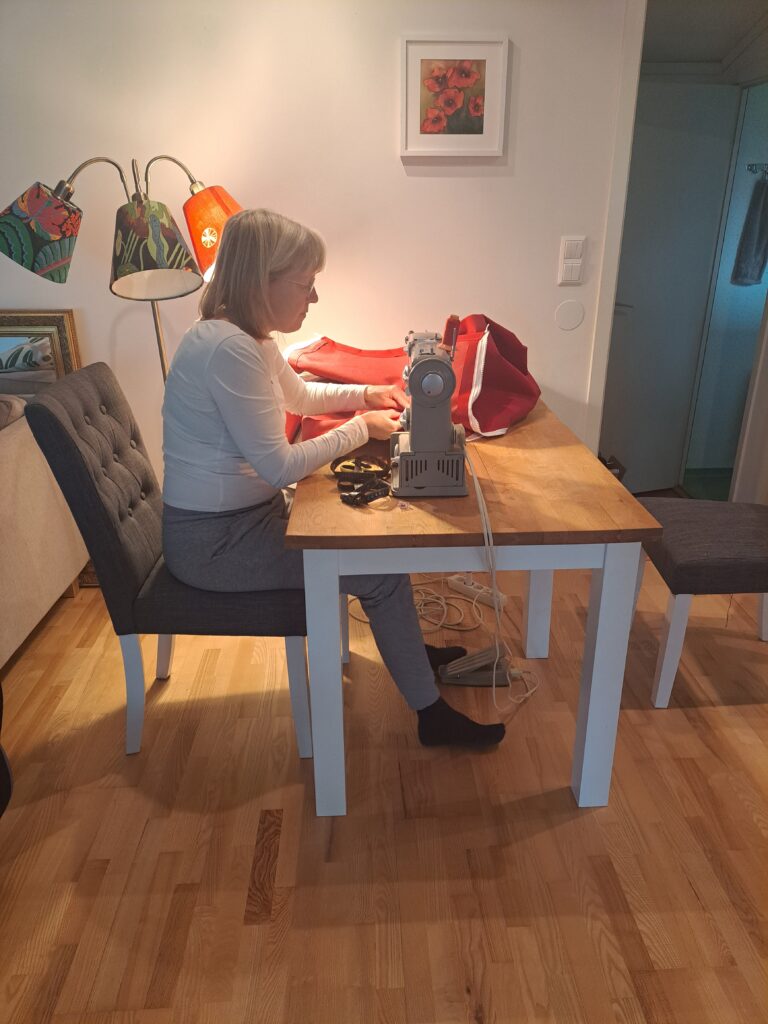
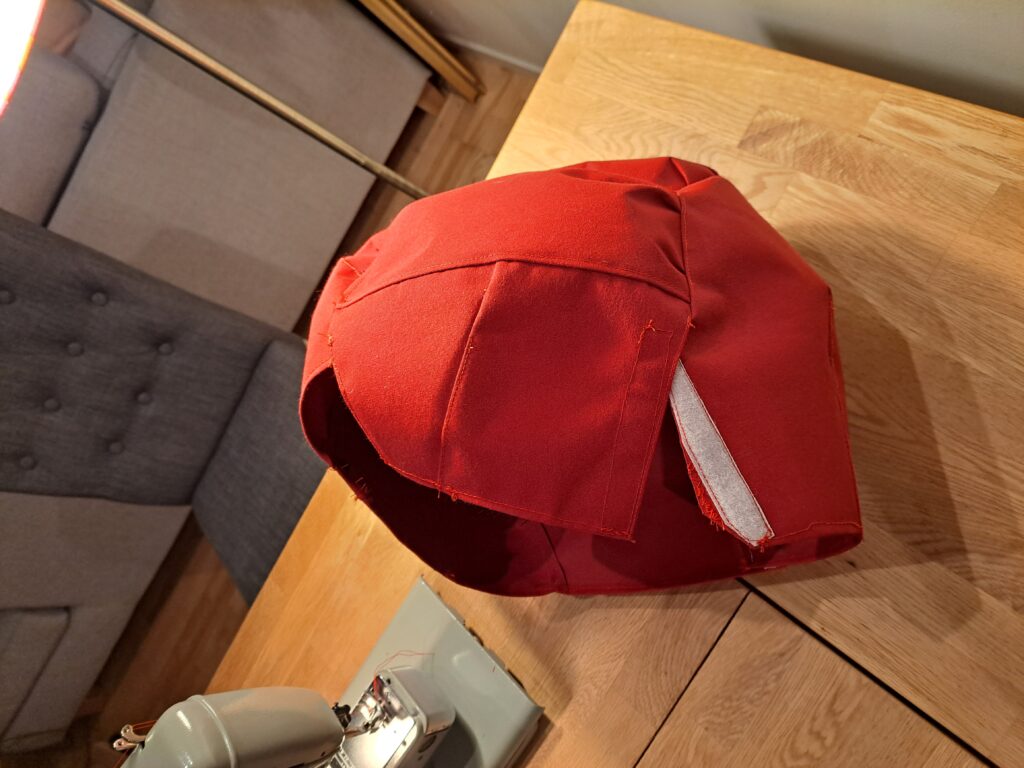
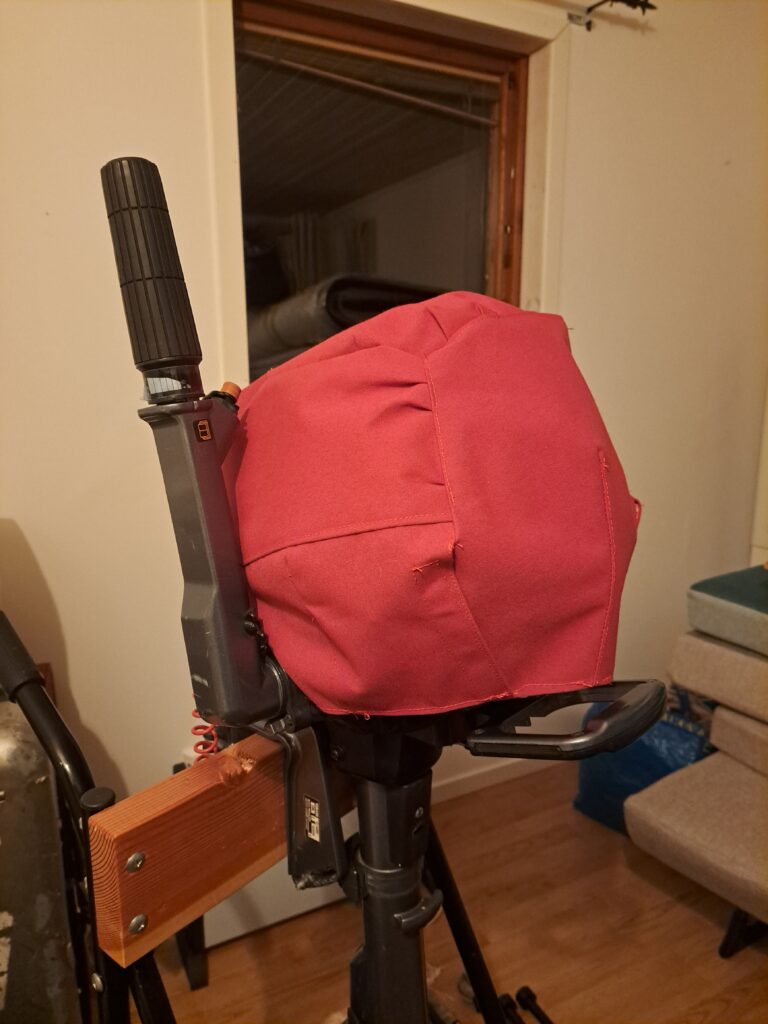
We sew a new cover for the outbord motor of the dinghy to protect the plastic from UV. This was a good chance to practice sewing something with a complex form, using the stiff canvas.
Replacement of start motor
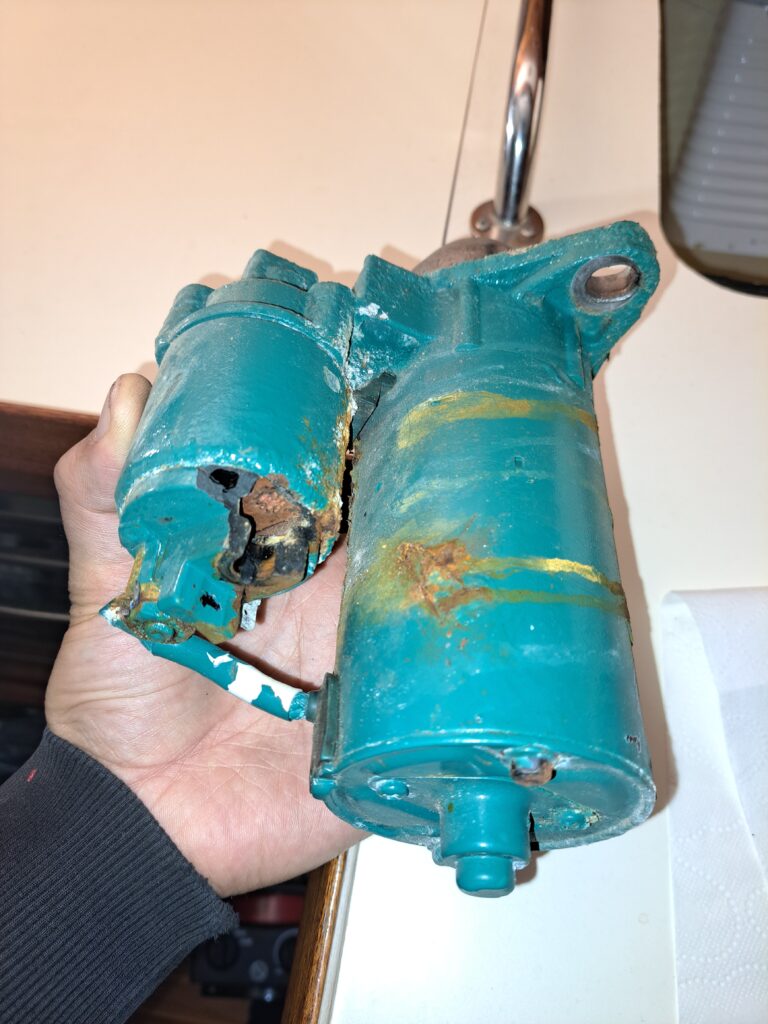
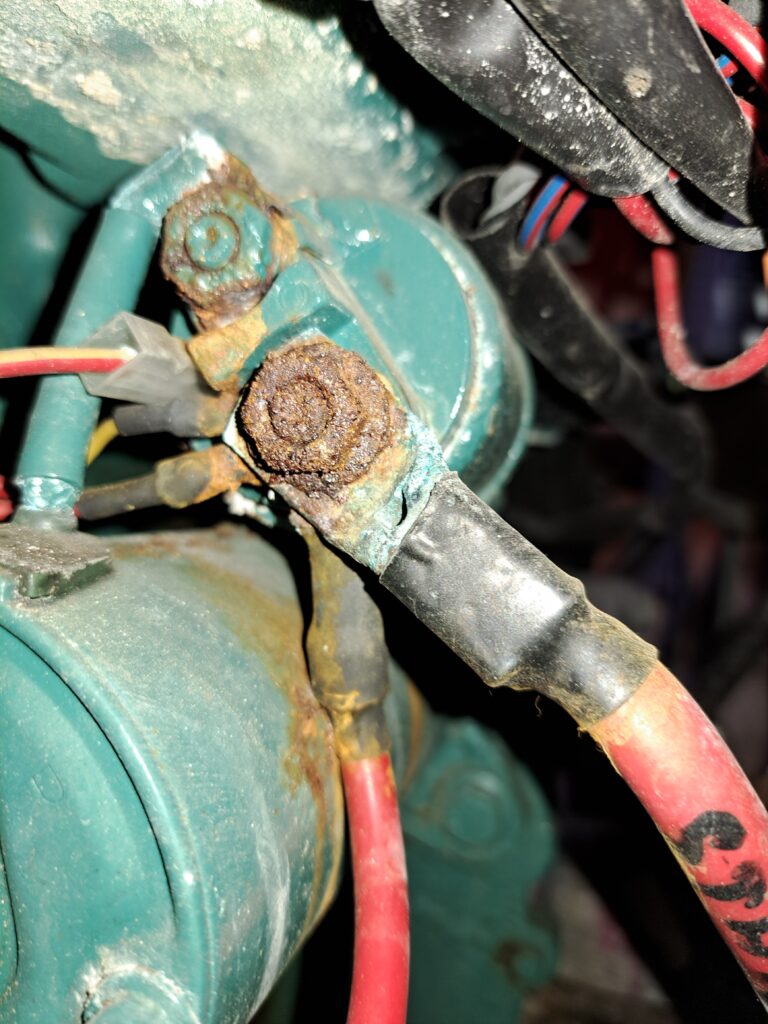
So far Lovisa has always been starting at first attempt without issue but we began hearing that it was starting a bit irregular. When looking in the motor room we could see sparks during start-up, most probably due to the corrosion on the electrical connections. The initial plan was to replace the start motor with a new one and restore the old one to keep as spare part but the old start motor just broke when trying to remove it. Maybe it was more that just bad connection. We took opportunity to install as well a new generator and new belt.
Replacement of rudder position sensor
Since we purchased the boat, we have been operating the autopilot with the rudder position sensor disconnected. For some reason, when the rudder position sensor is connected, the boat is unable to follow a course. No signs of damages are visible on the cabling of the sensor to the control unit and no issue can be seen on the actual installation of the sensor. Replacing the control unit with a spare one didn’t improve anything either. We suspect there might be something wrong with the rudder position sensor itself. The autopilot has been running quite fine even without this sensor connected but since we managed to find a sensor in new conditions, we decided to replace the sensor so we can continue to do fault tracing.
Inspection of exhaust elbow
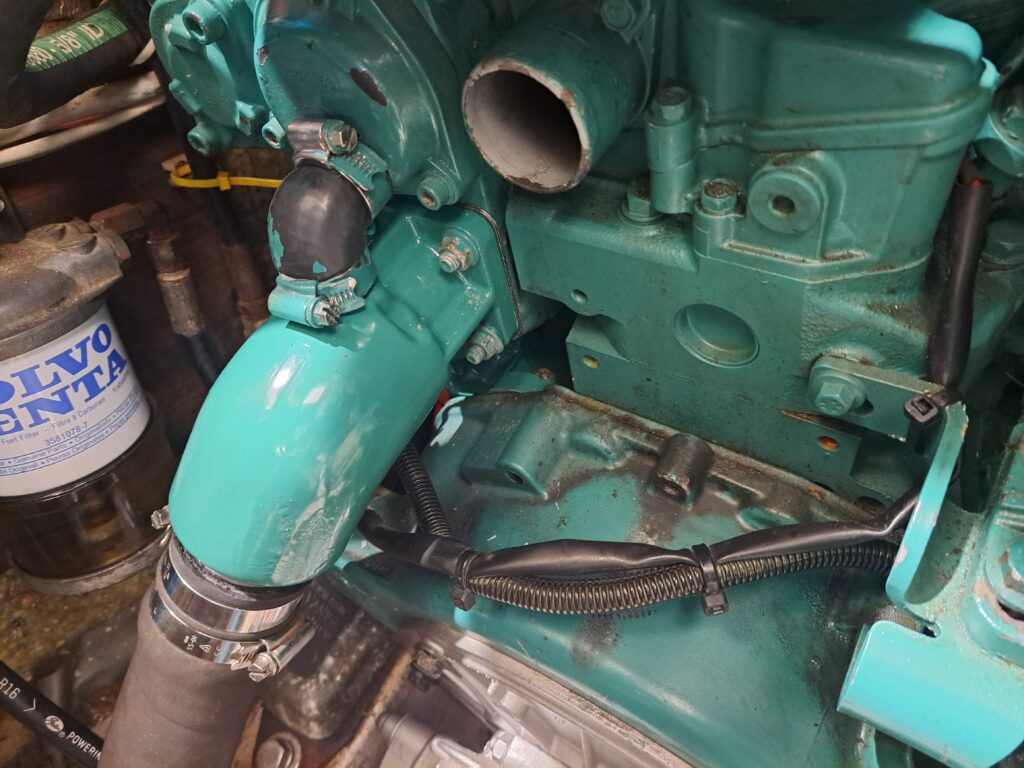
Many sailors are recommending regular inspection of the exhaust elbow where the cooling sea water meets the exhaust gases and since Lovisa’s engine has around 2500h, we took the time to check the conditions of it. Removing the exhaust below is pretty easy. Once removed we could confirm presence of corrosion in several sections of the it and a slight constriction of the area inside the elbow and on the water inlet. On heat exchanger side, we could see a build up of white / yellowish crystals that brittles like sand and could be removed easily. We supposed these are crystals of salt? We could see a bit of corrosion where the exhaust pipe in the heat exchanger meets the housing of the heat exchanger. Comparing these conditions with pictures shared by other owners of Volvo Penta D1-30 and D2-40 engines who suffered failure in this area, it seems that we still have a bit of margin left.
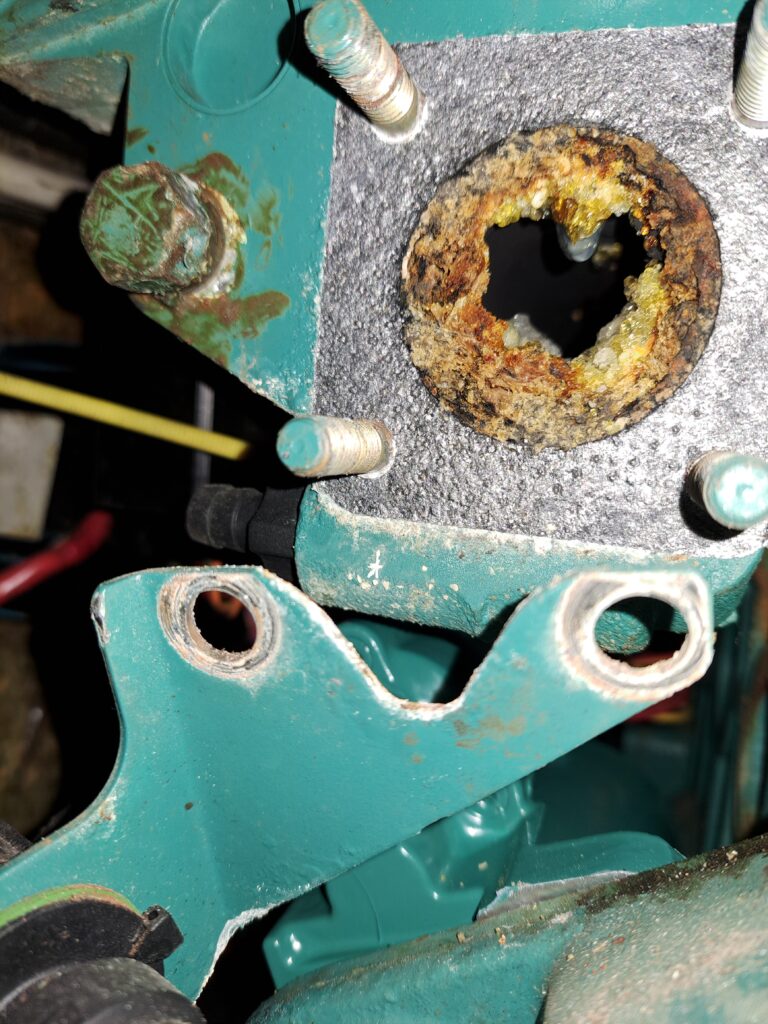
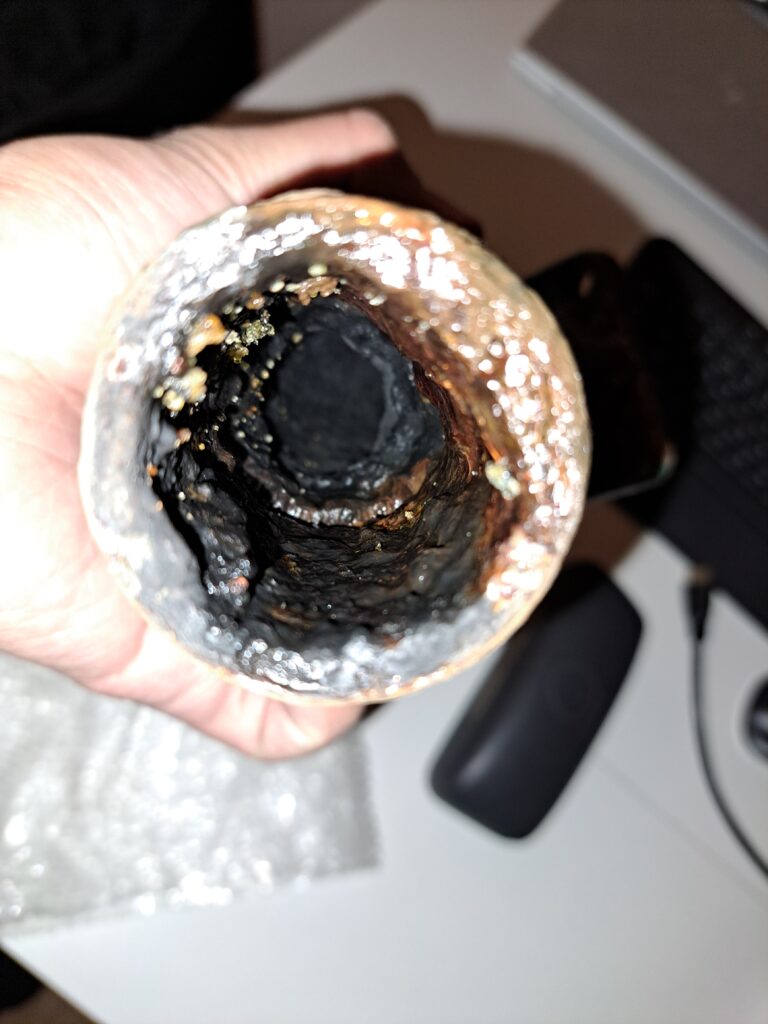
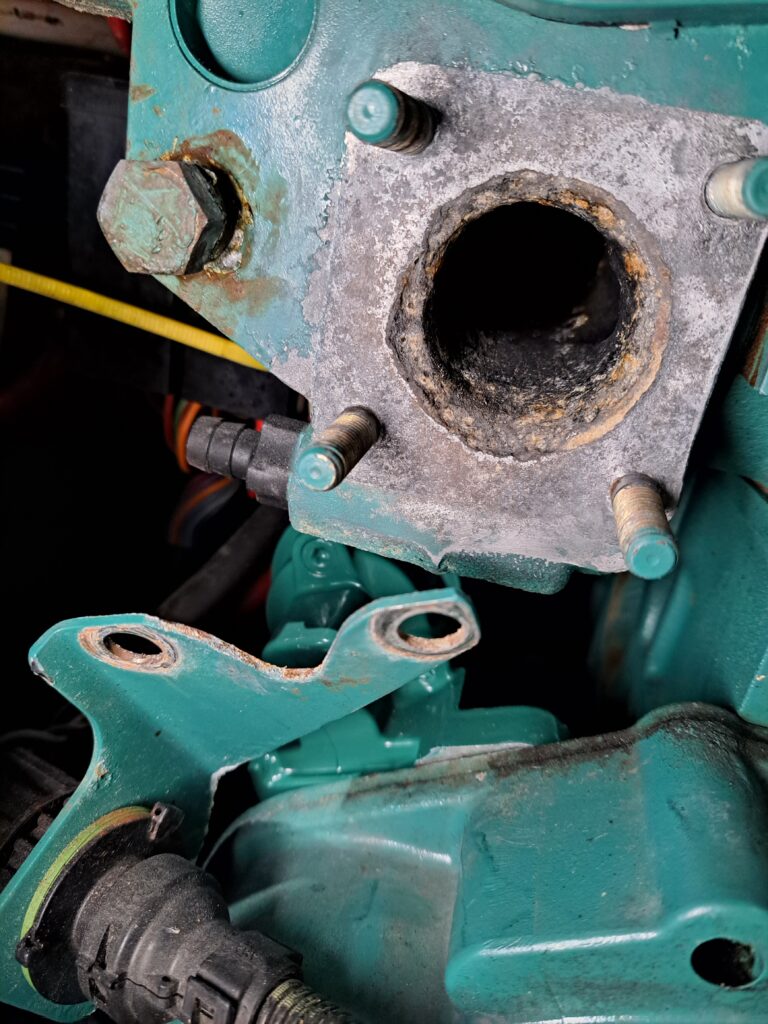
For now, we decided to replace the elbow with a new part and continue to do regular checks since the corrosion is likely to continue its work and could potentially be a source of engine failure if not checked regularly.
Jib sail cover
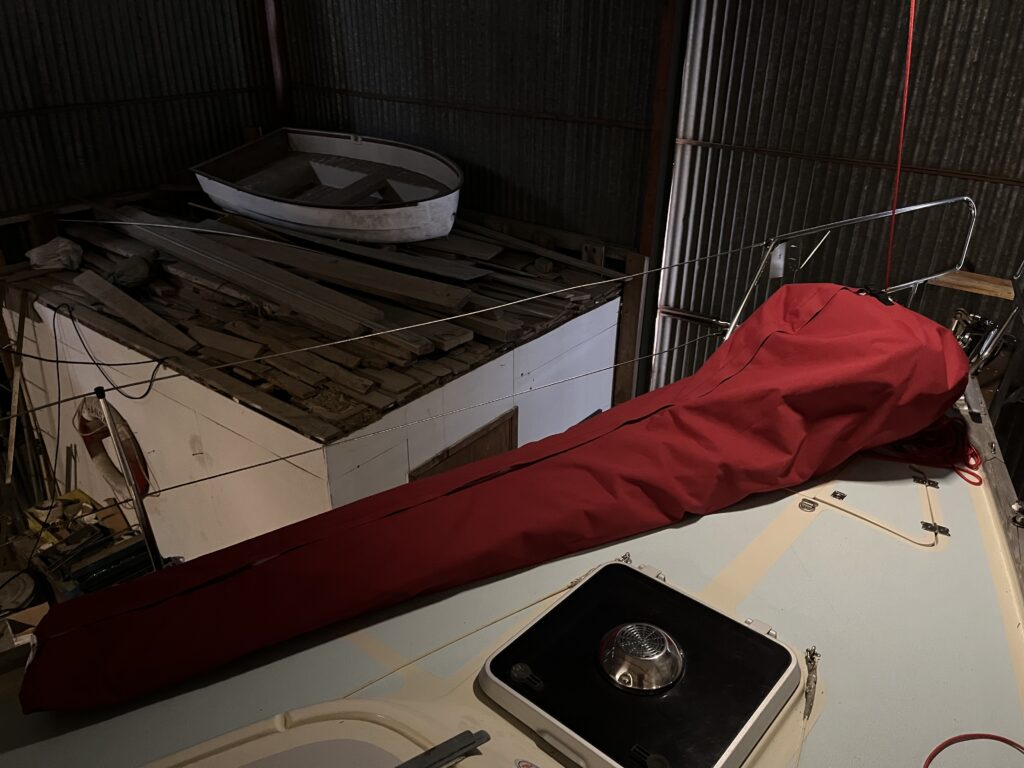
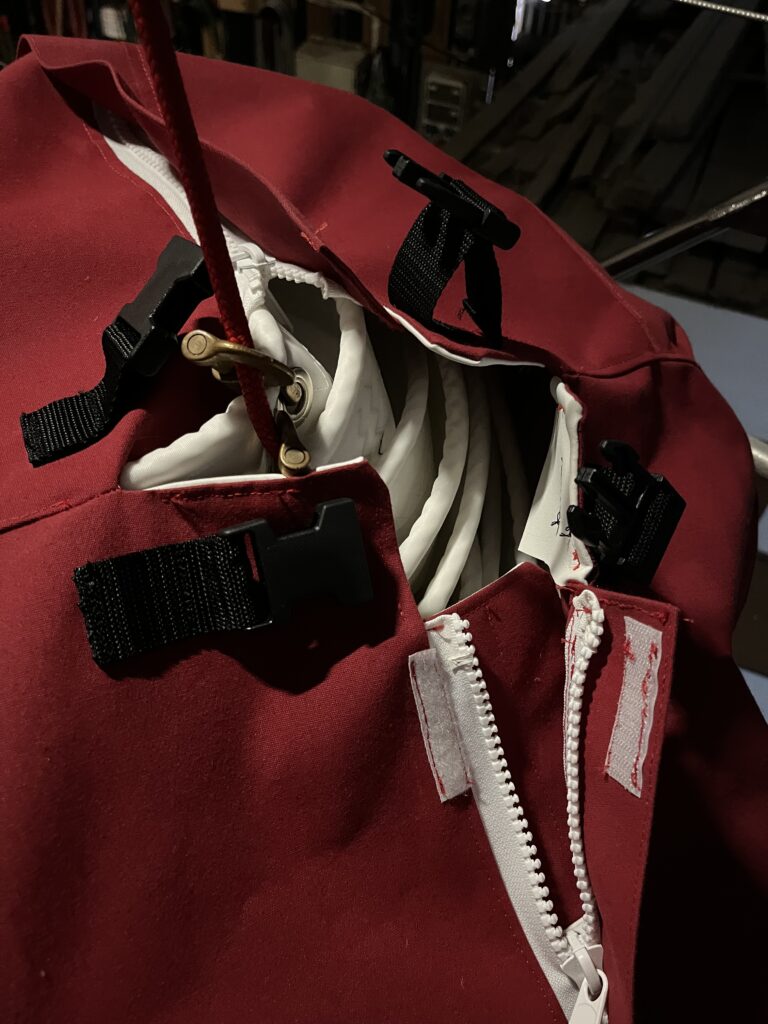
We believe there could be occasions during our trip where we may want to have the jib on deck and already hooked to the inner forestay so it can be raised easily. In order to protect the jib when laying on deck, we built a cover to protect if from water sprays and from the sun. We have added hooks to the cover so we can tighten it to the boat and avoid having it flying around.
Replacement of standing rigging
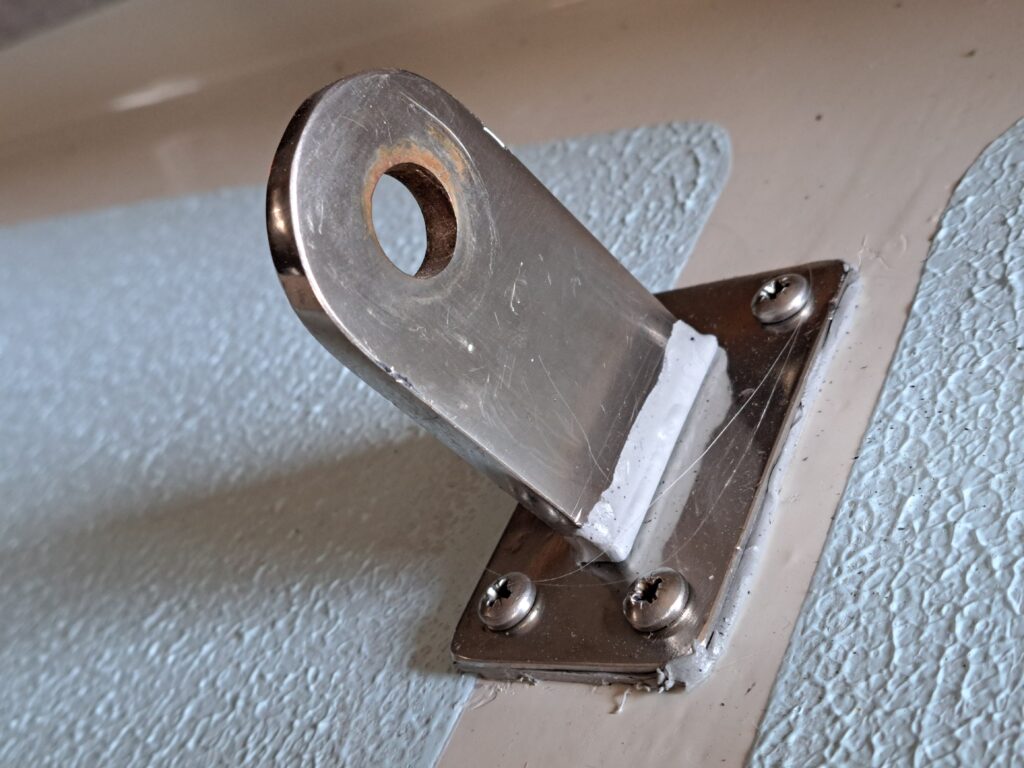
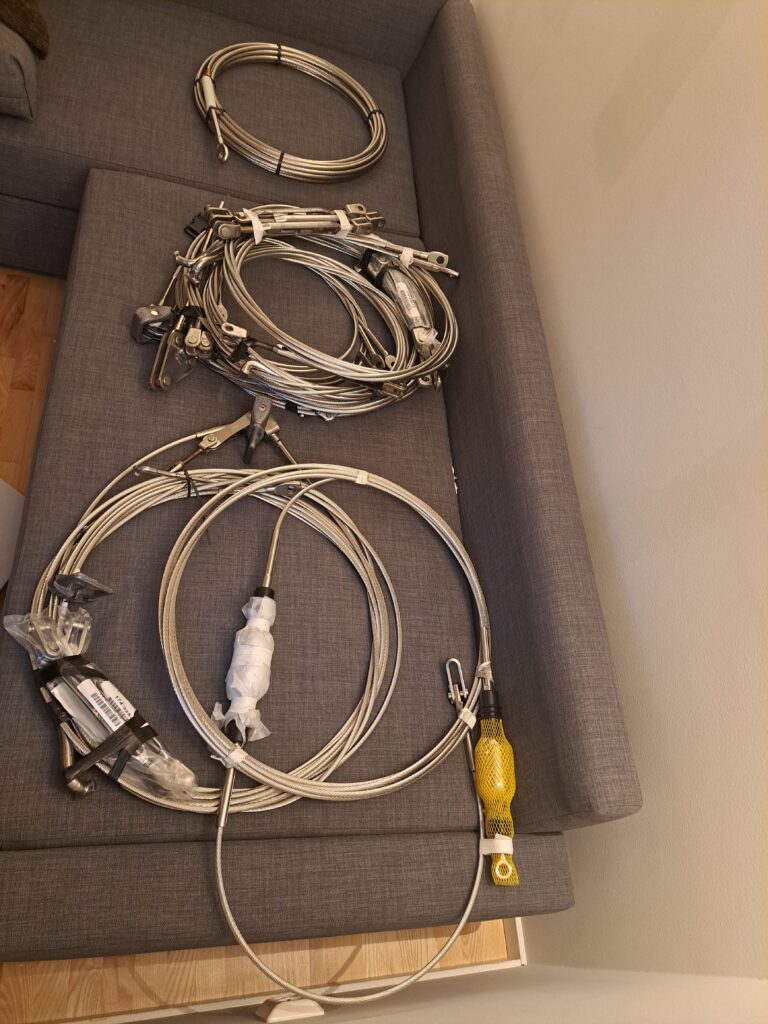
Lovisa’s previous owners replaced the entire standing rigging prior to their departure around the world. There was nothing really wrong with it apart from minor oxidation there and there but for our own peace of mind since it still has several nautical miles on the neck, we decided to replace it all. We replaced the forestay, the backstay including the isolators, the cap shrouds, the intermediate shrouds, the lower shrouds and the cutter stay. We replaced as well the turnbuckles that were worn out and all the toggles for the backstay and the forestay. For the voyage, we will bring with us as spares some of the old stays that are still in good conditions.
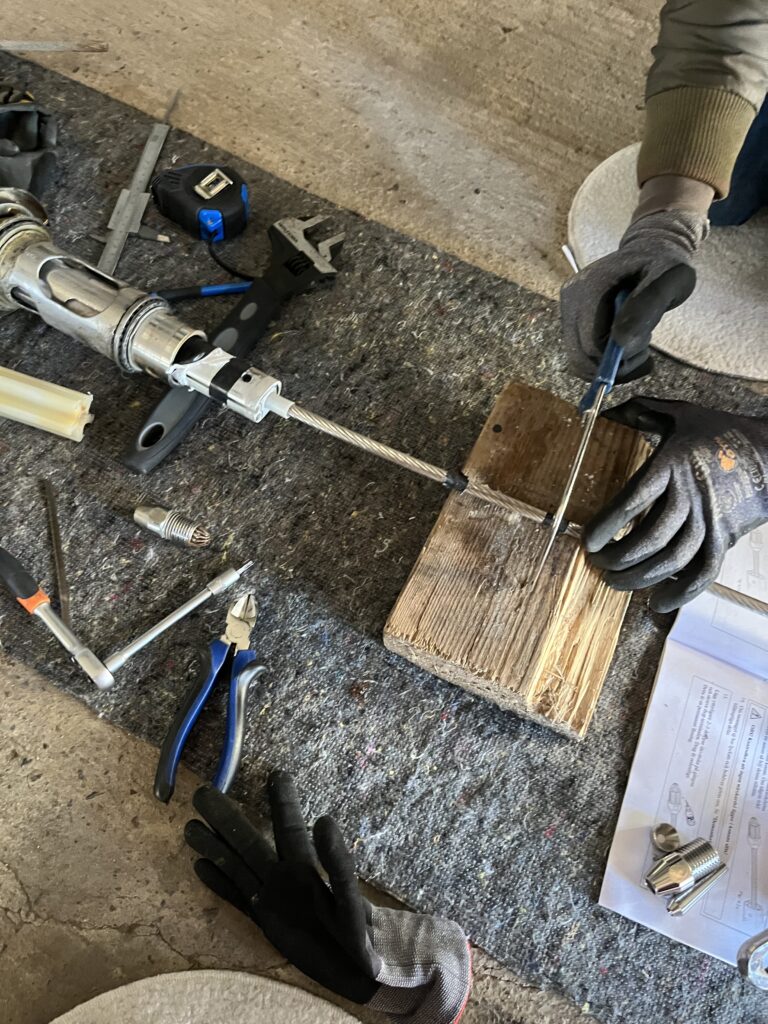
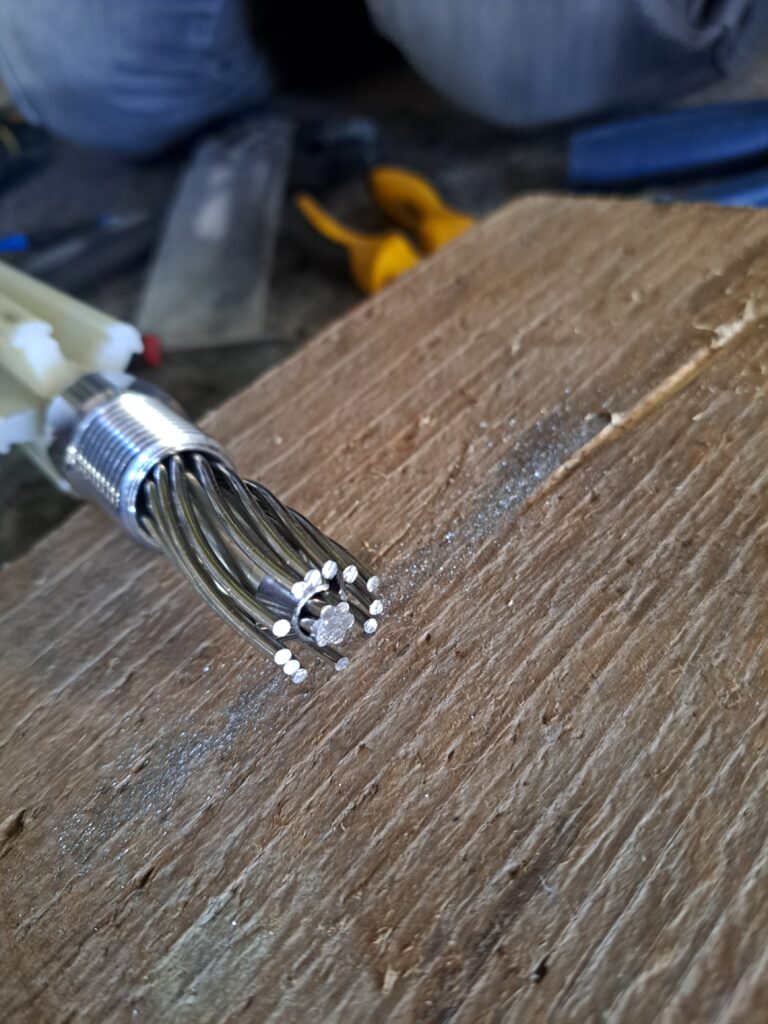
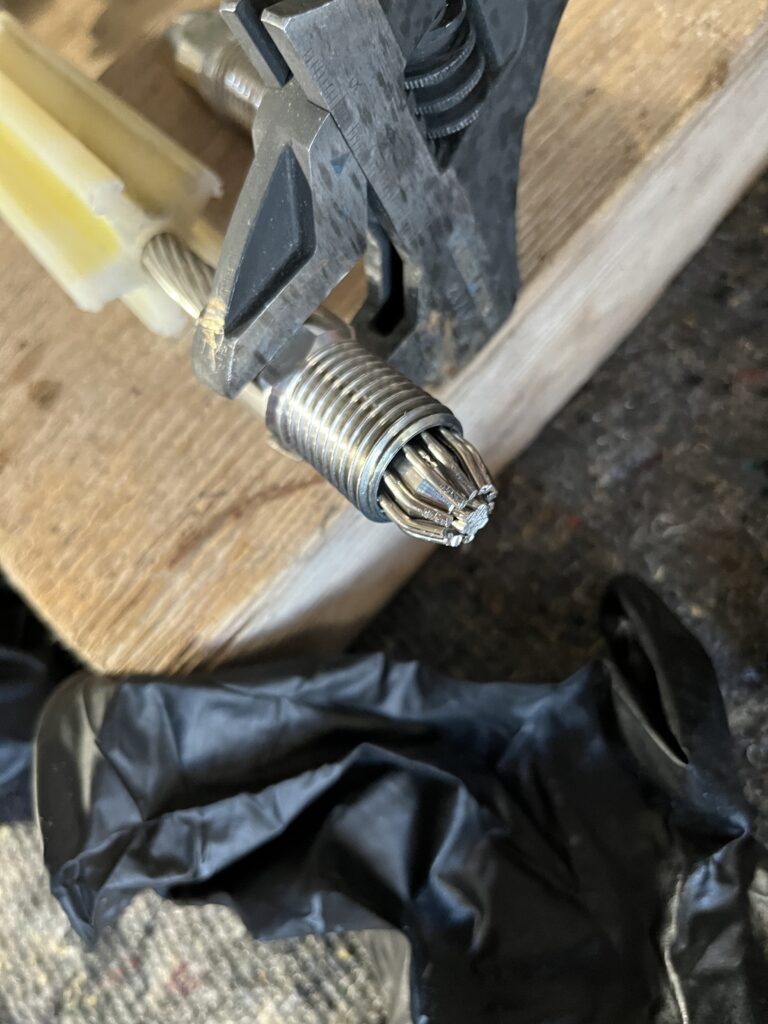
To replace the forestay we started with disconnecting the furlex system from the mast and laid it on the ground. We removed the drum of the furlex and pulled the lower bearing assembly up along the furlex profil to uncover the wire terminal. We measured several times the length of the forestay from top to bottom, we cut the wire and pulled the forestay out from the top.
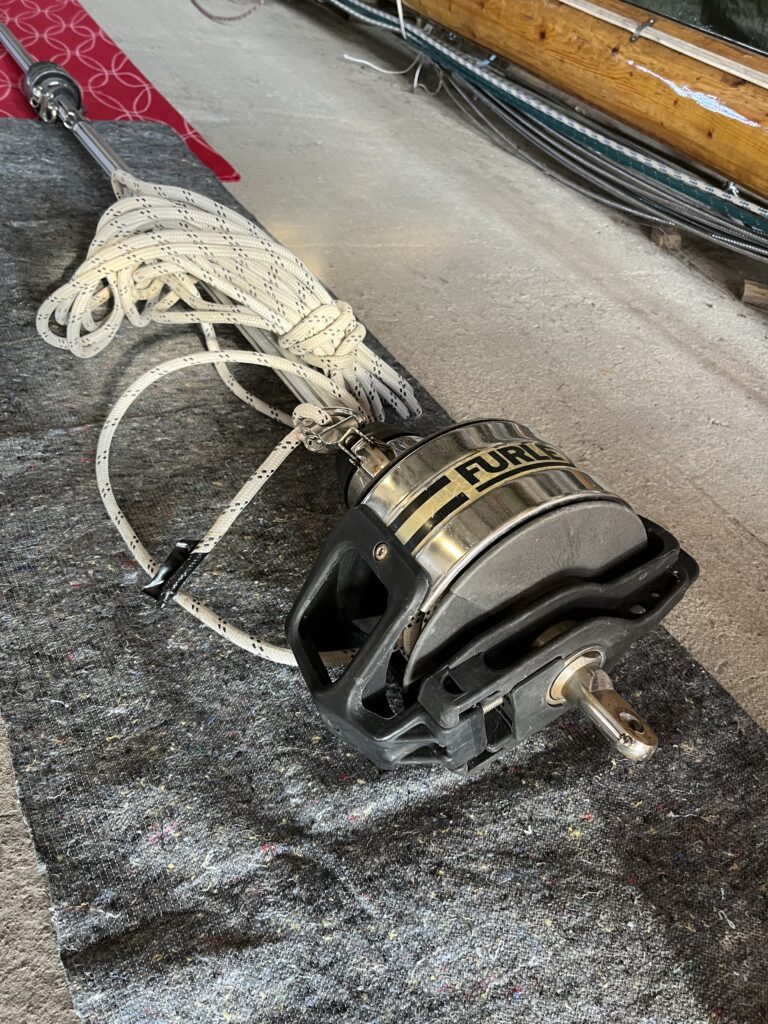
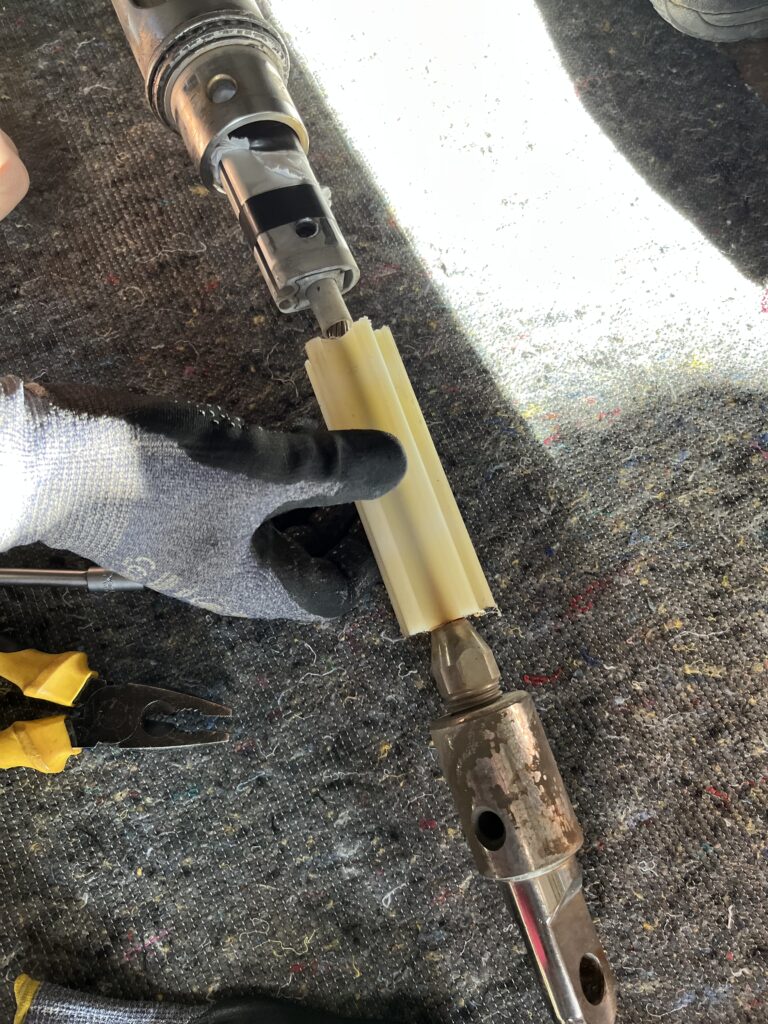
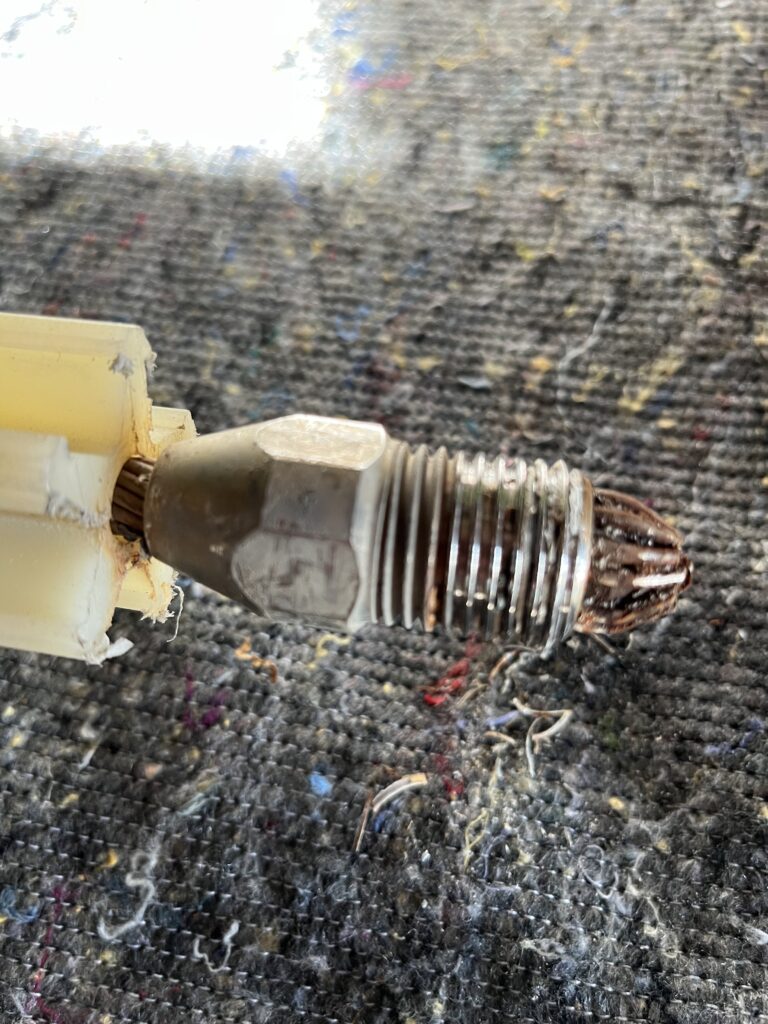
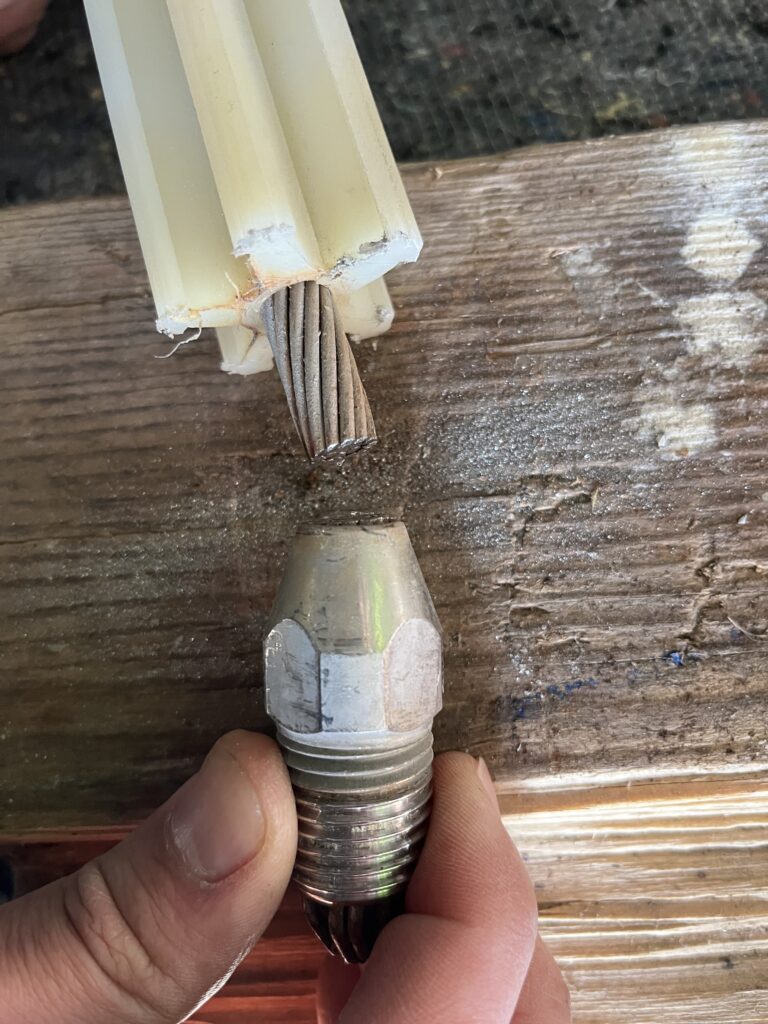
The old wire we removed was actually in quite good conditions apart from som superficial rust on the lower part but the eye terminal on the top and the toggle were bent. It is no that clear how they bent in such way but it feels good to have everything fresh. We passed the new forestay through the profile and cut it at the exact same length as measured for the old forestay. We mounted new locking nutes, cone and stopper and reassemble back everything after a bit a cleaning a greasing of the bearings.
Installation of watermaker
Having a watermaker unit onboard is not really a must for a long sail but for sure, being able to produce high amounts of fresh water onboard provides great advantages. To name one, it removes the burden to look regularly for marinas to refill water and this allows to stay away for longer time.
For Lovisa, we have chosen a Schenker Zen30, a model based on reverse osmosis, relatively compact and still capable of producing up to 30liters/h with energy consumption as low as 110W/h that is well below what the solar panels are capable of producing. Schenker have also a long experience in manufacturing watermakers so we are confident in this choice.
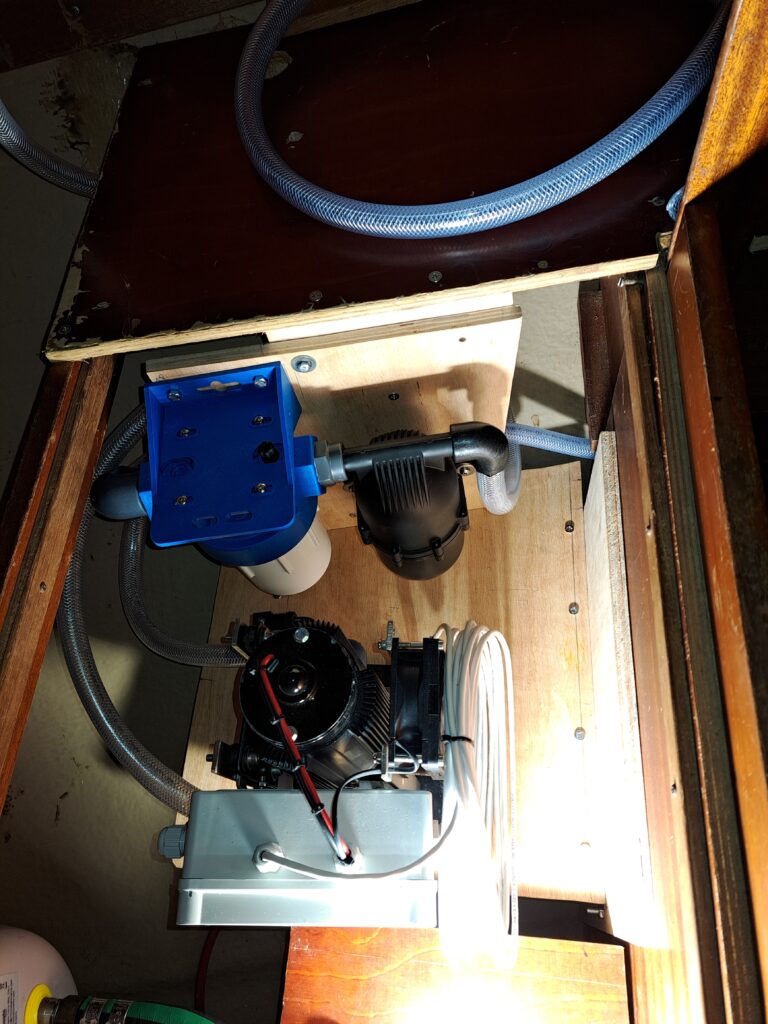
The entire system is pretty simple with a limited amount of components to assemble.
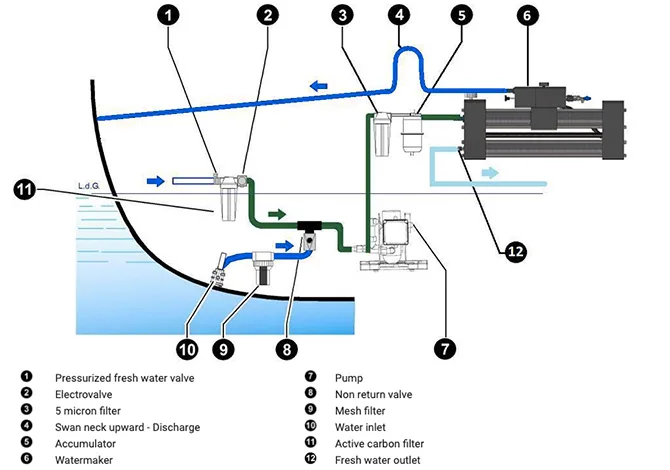
Even though this model is compact, it was a bit challenging to find an appropriate location that would be safe and sufficiently accessible for maintenance. The design also imposes some constraints for installation: the watermaker unit can be installed only on an horizontal plane and the forwarding pump that feeds the watermaker unit with sea water needs to be located below the watermaker. In addition to that, the watermaker unit weights about 30kg so we need to make sure it will not move even in rough seas.
We decided to install the watermaker unit on the top of the bed in the aft cabin, through an existing opening on the side of the closet. This is also how previous owners who sailed Lovisa around the world had their watermaker unit installed. We built platform on the top to protect it and allow the use of the remaining part of the closet for storage while keeping access

The watermaker is bolted on a strong wood platform with some vibration absorber.
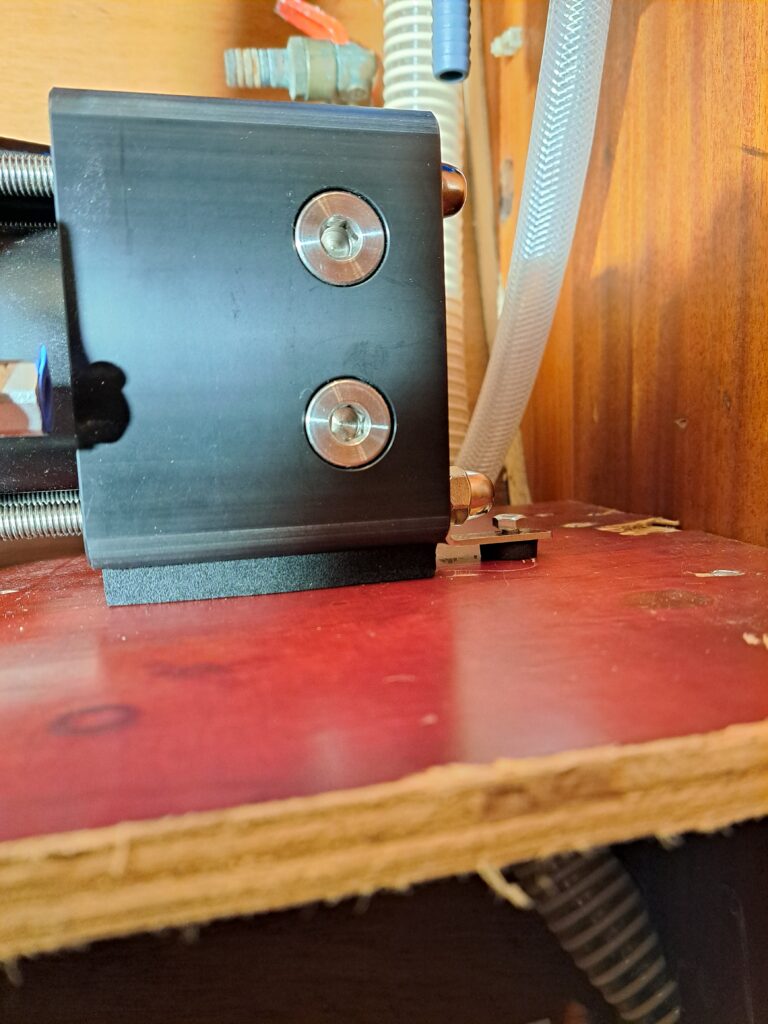
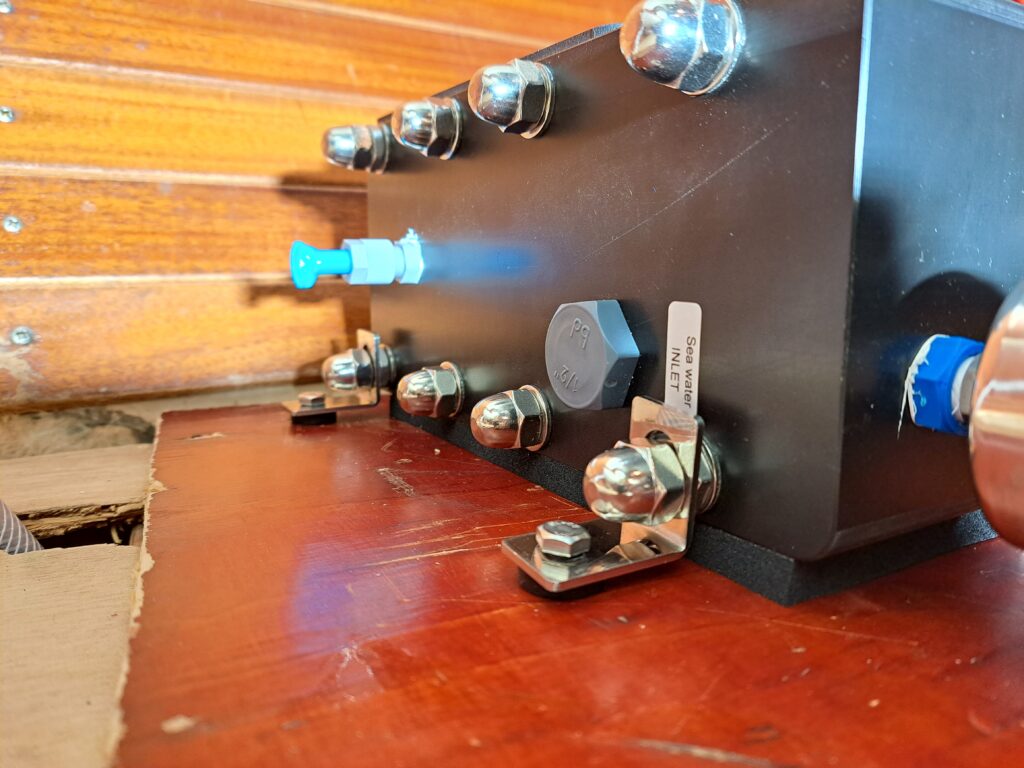
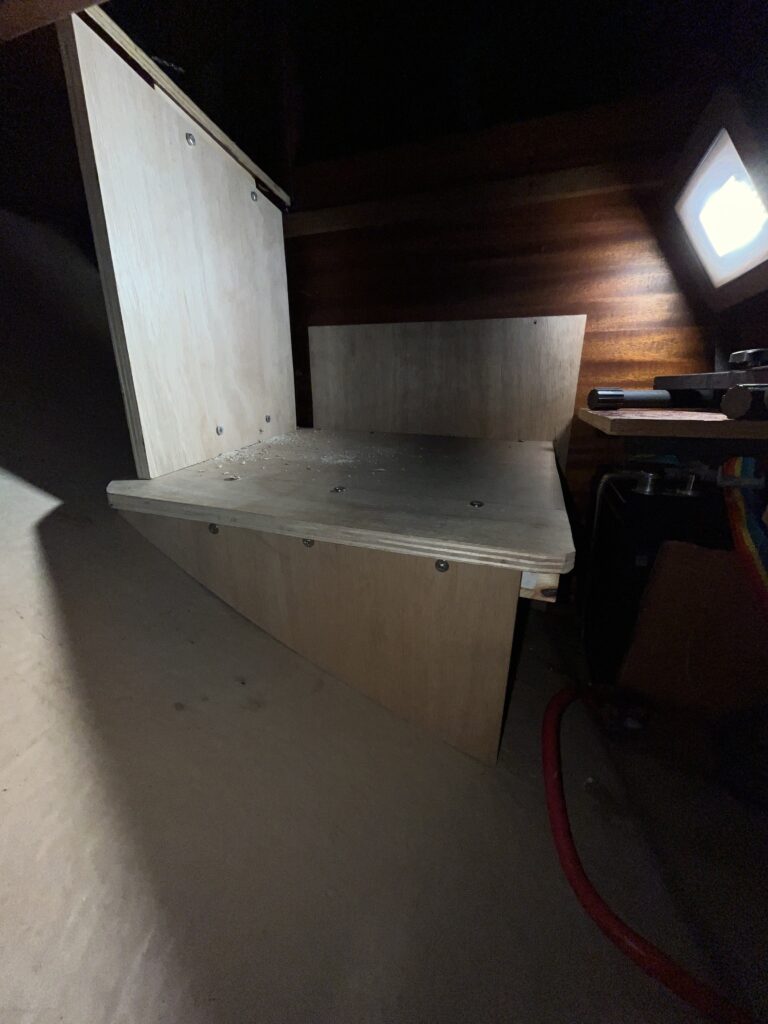
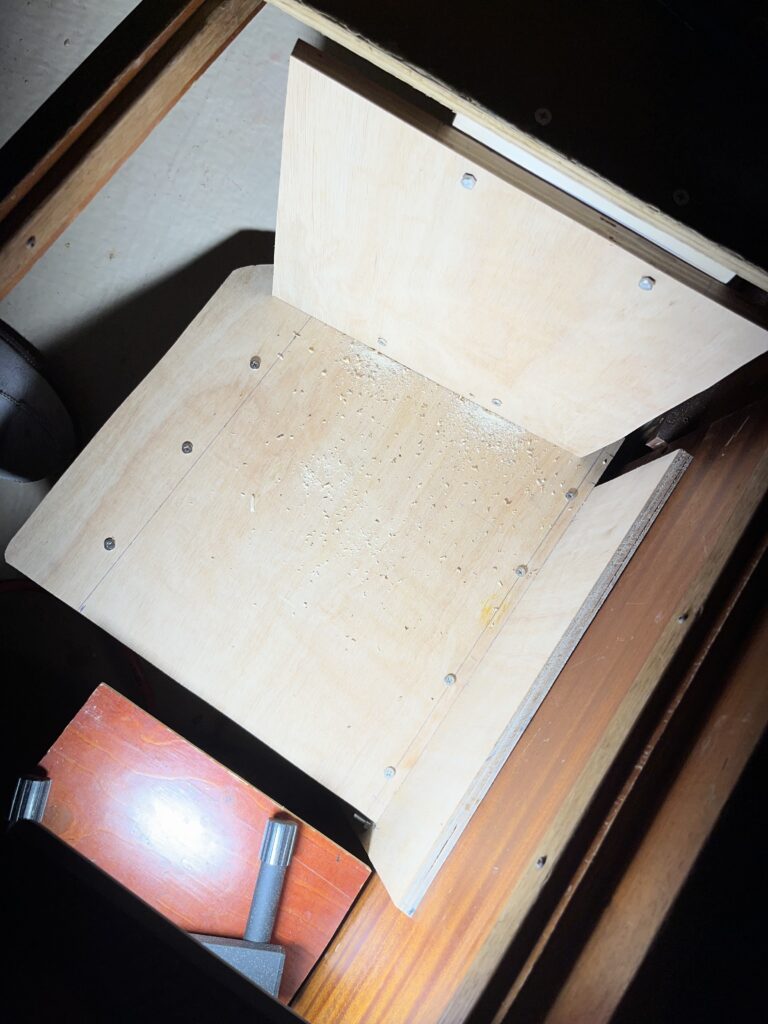
In the space below the bed where the start battery and the water heater are also located, we built a platform in plywood, formed against the shape of the hull to hold the pump, the filter and the pressure accumulator.
Routine maintenance of winches
It is important to keep the winches in good conditions to ensure that they actually keep rotating smoothly as they are supposed to and that the locking system is also working properly.
We started with the dismantling and cleaning of the two winches we normally use for the genoa sheets in the cockpit. These winches are an older Andersen 46ST self tailing version. The construction is pretty simple and makes this winch very easy to serve. We removed all the parts and cleaned them with diesel. We controlled the pawls to see if they were moving freely and replaced the springs that were found a bit weak. Finally, we greased all the components with some particular attention to the pawl system that should be greased only with very little amount of grease to avoid disturbing the spring function.
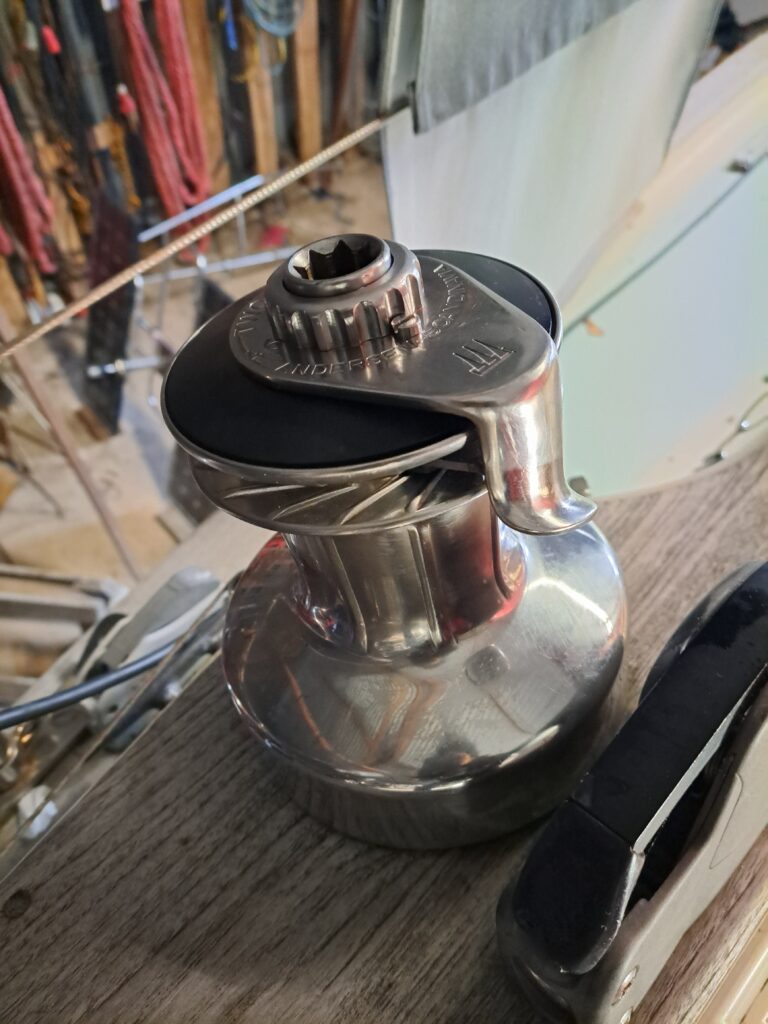
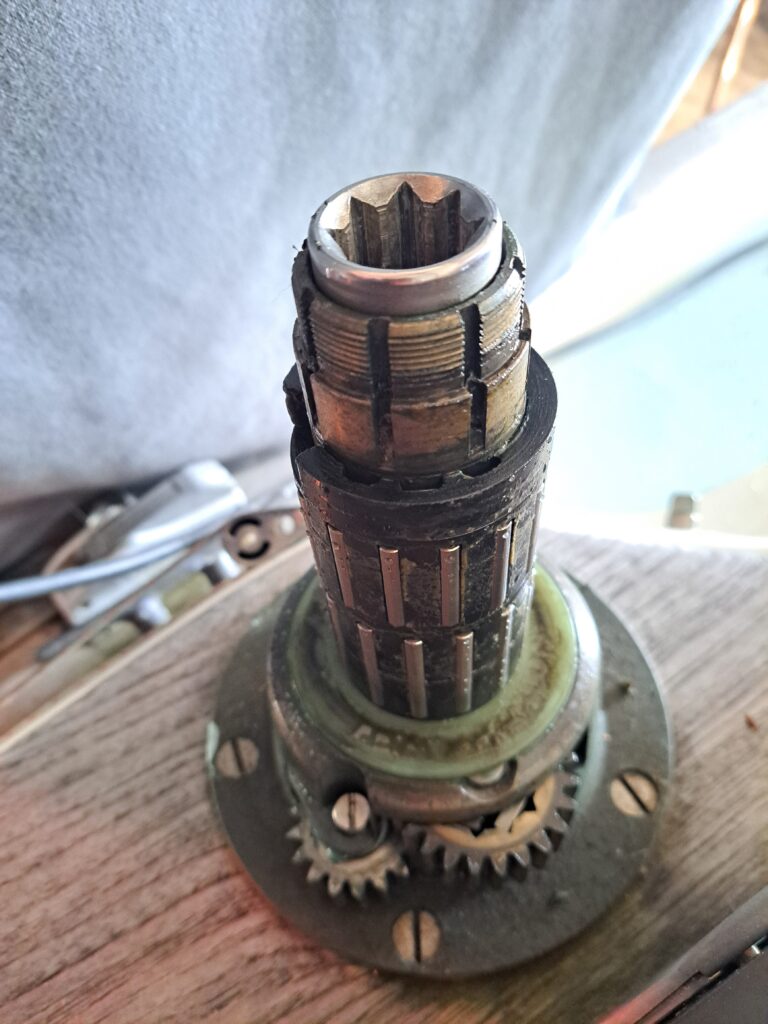
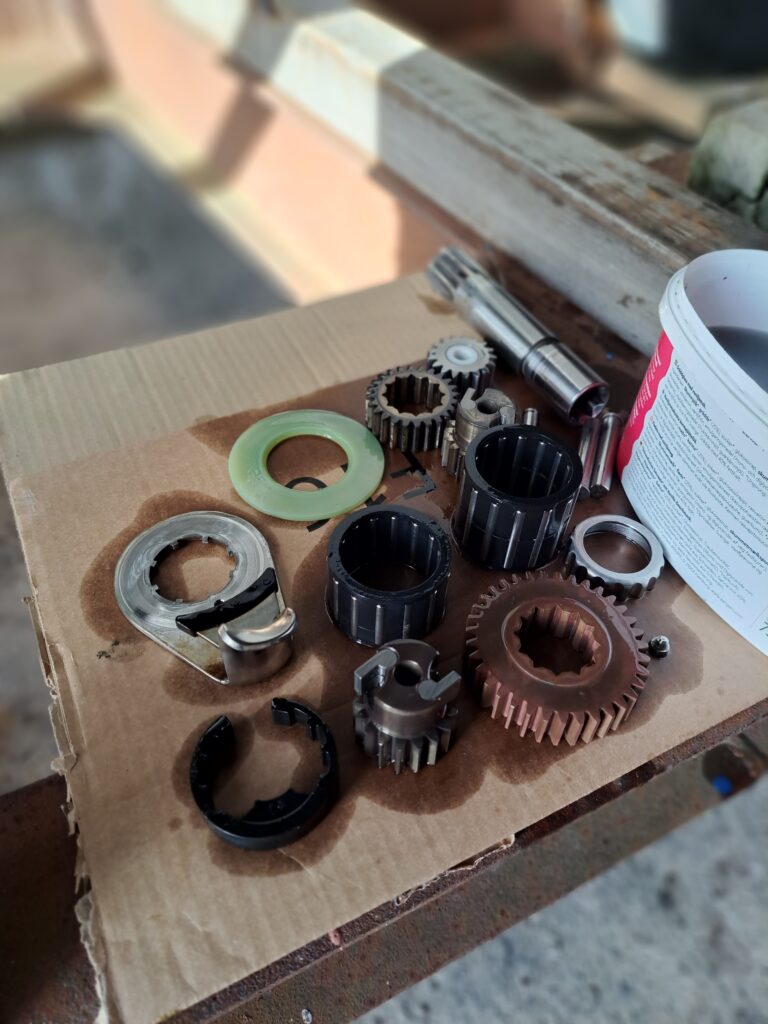
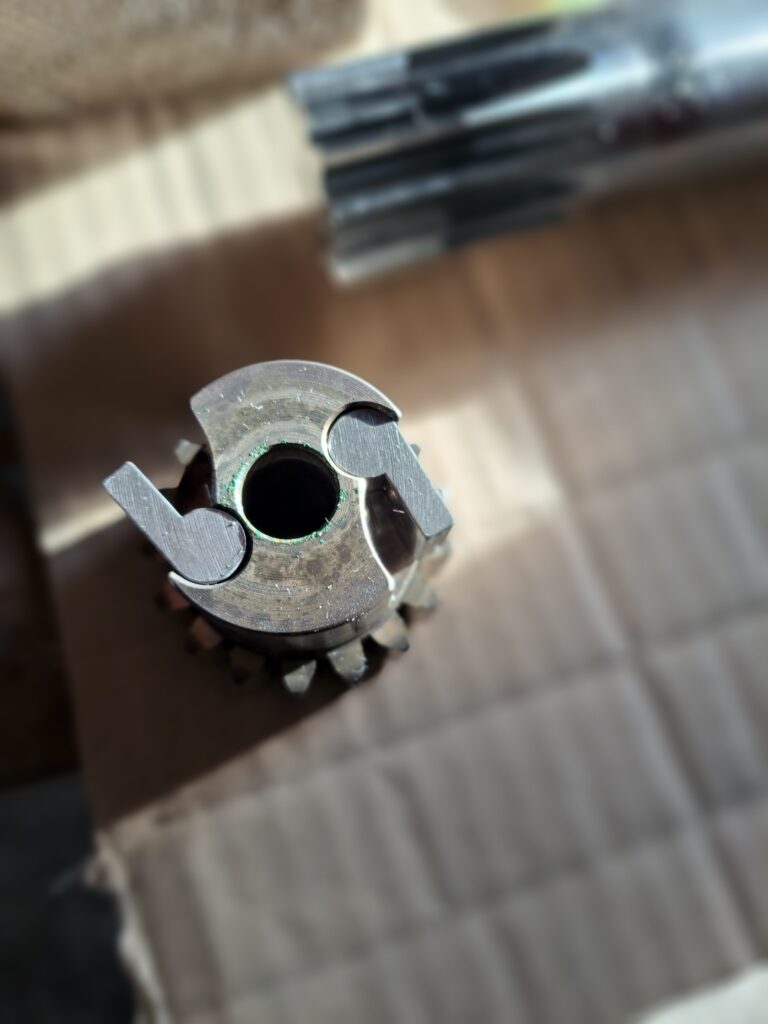
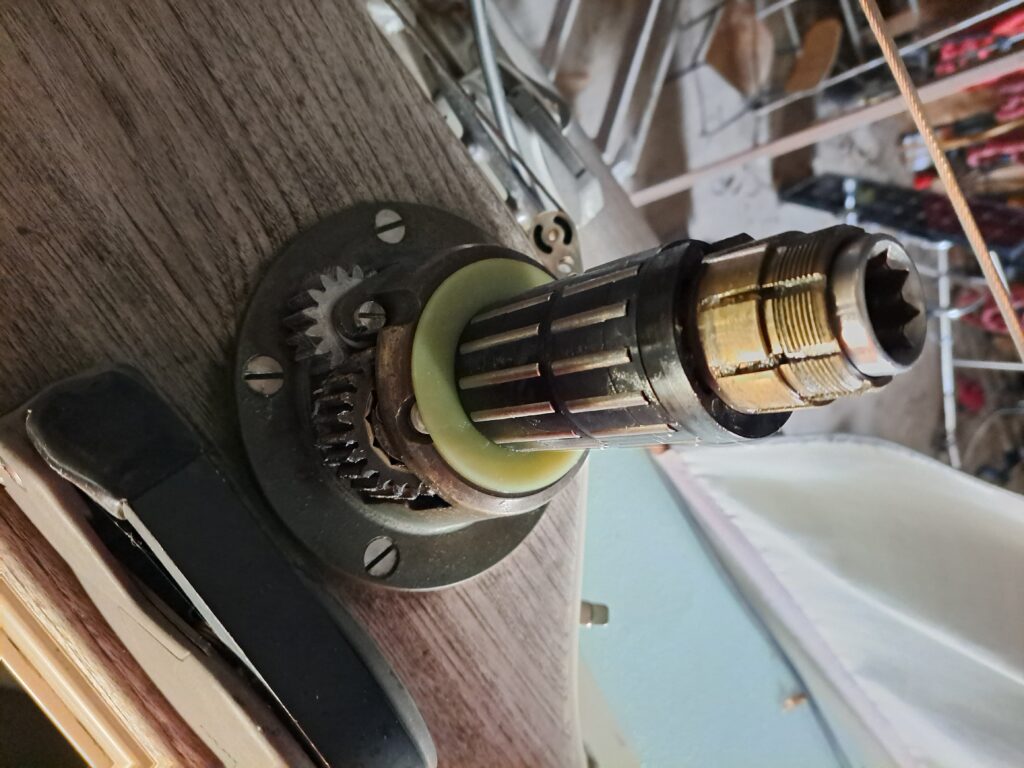
We continued with the smaller winches we use to trim the main sail and the winch on the mast we use to lift the main sail. These two winches are an older Andersen 12ST self tailing version. The construction is a bit different from the first ones but still pretty simple. We dismantled all components to clean them with diesel prior to apply new grease and reassembl the whole.
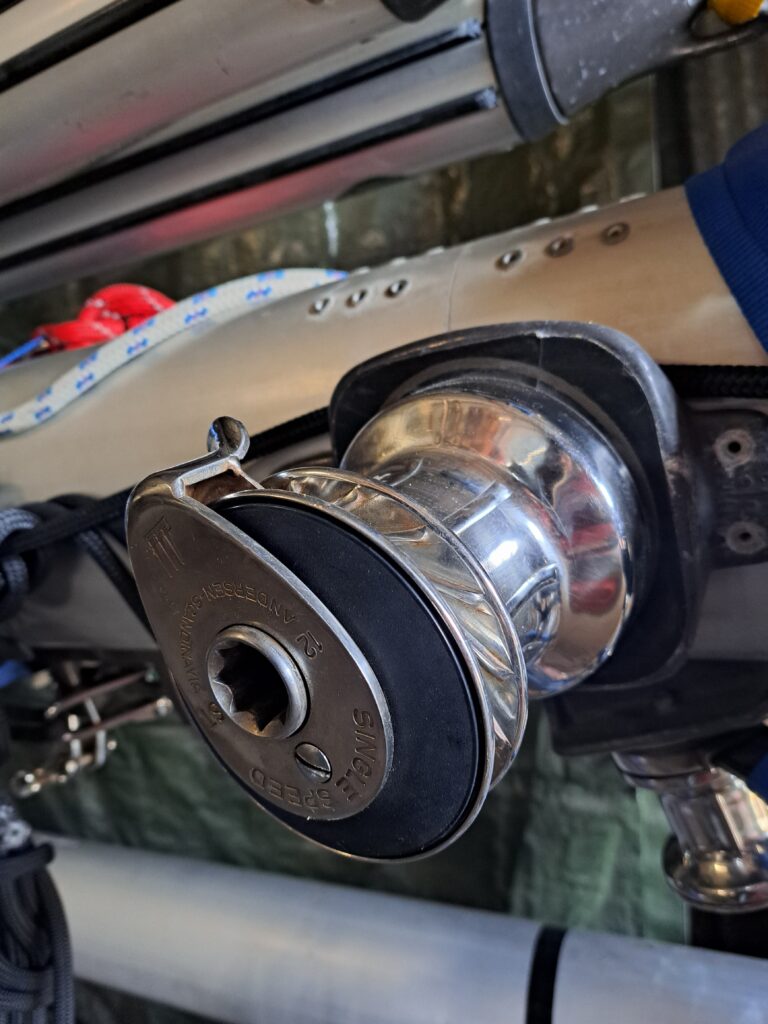
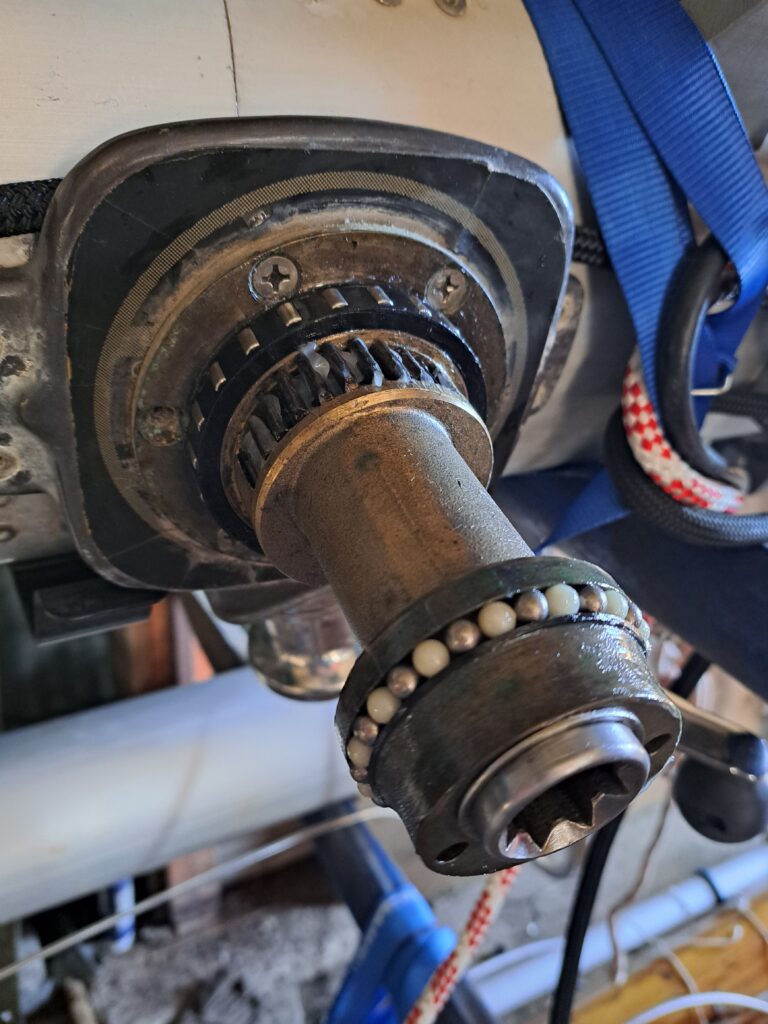
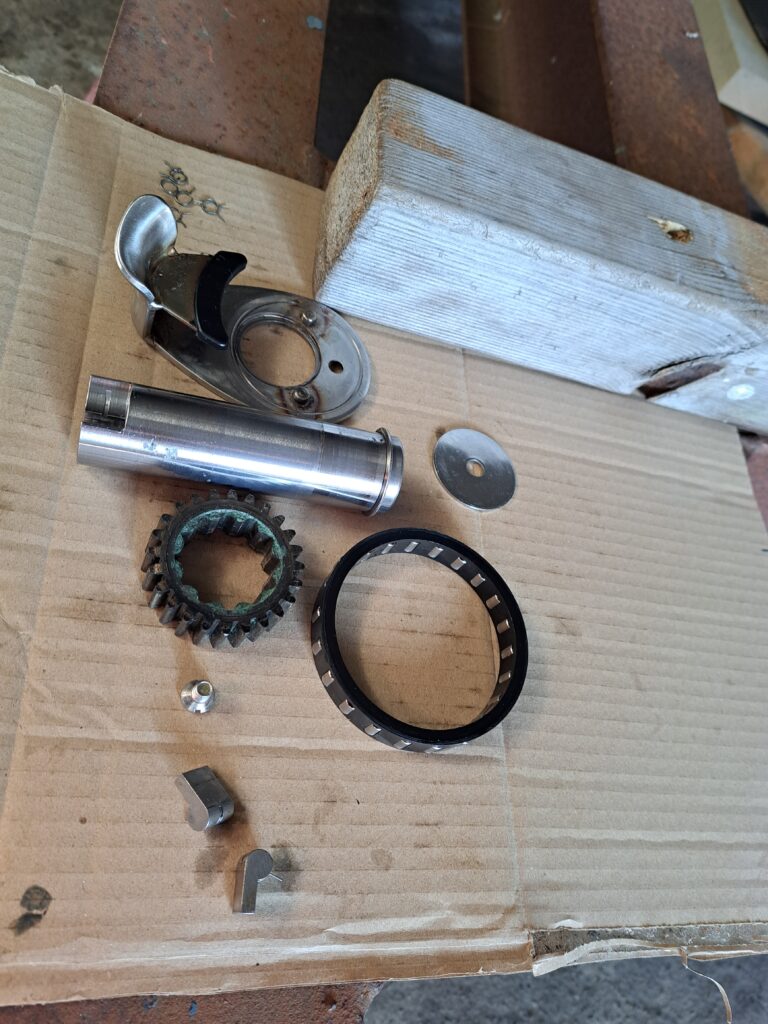
We ended with the last 2 winches on the mast, the small Andersen Classic winch we use to reef the mainsail and mainsail outhaul and the Harken 16 ST we use for the genoa or cutter sail halyards. We dismantled all components clean them with diesel prior to apply new grease and reassemble the whole.
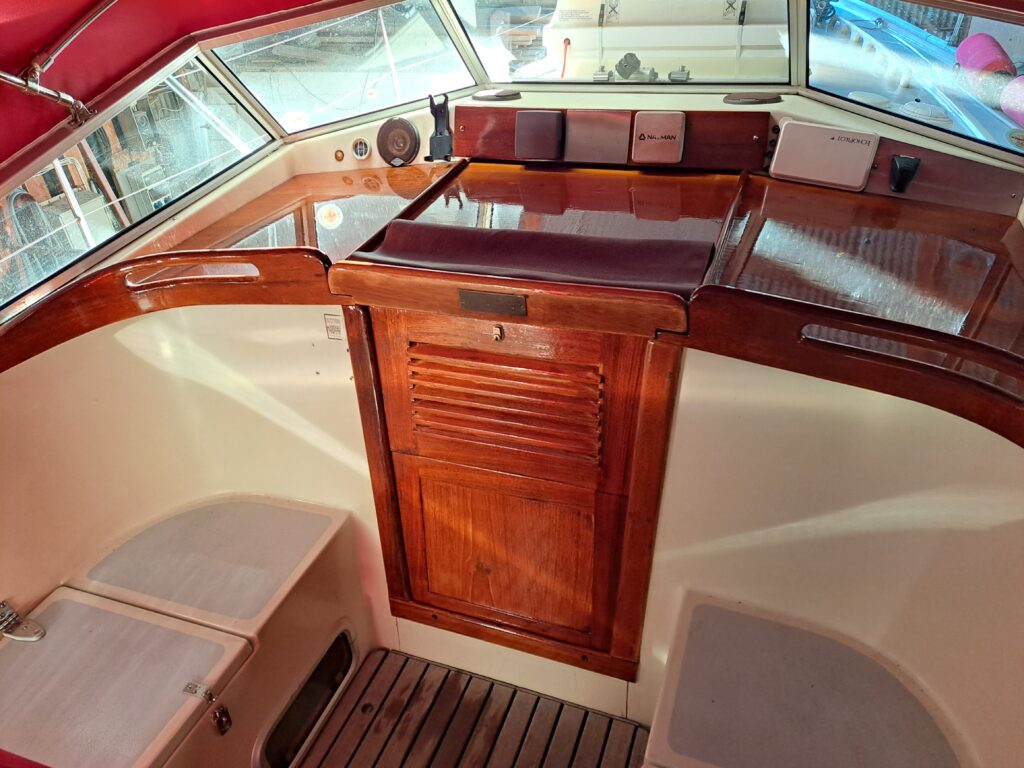
Refreshing laquer in cockpit
A Najad is not a Najad without shiny wood pieces !
Inspection of ground plate
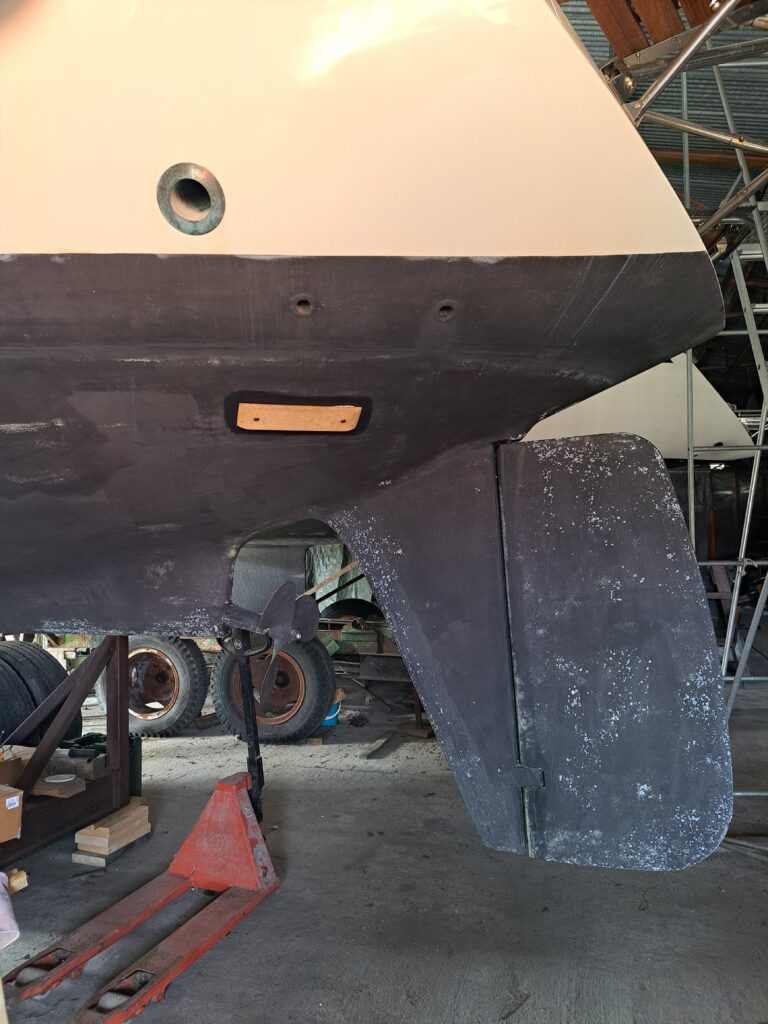
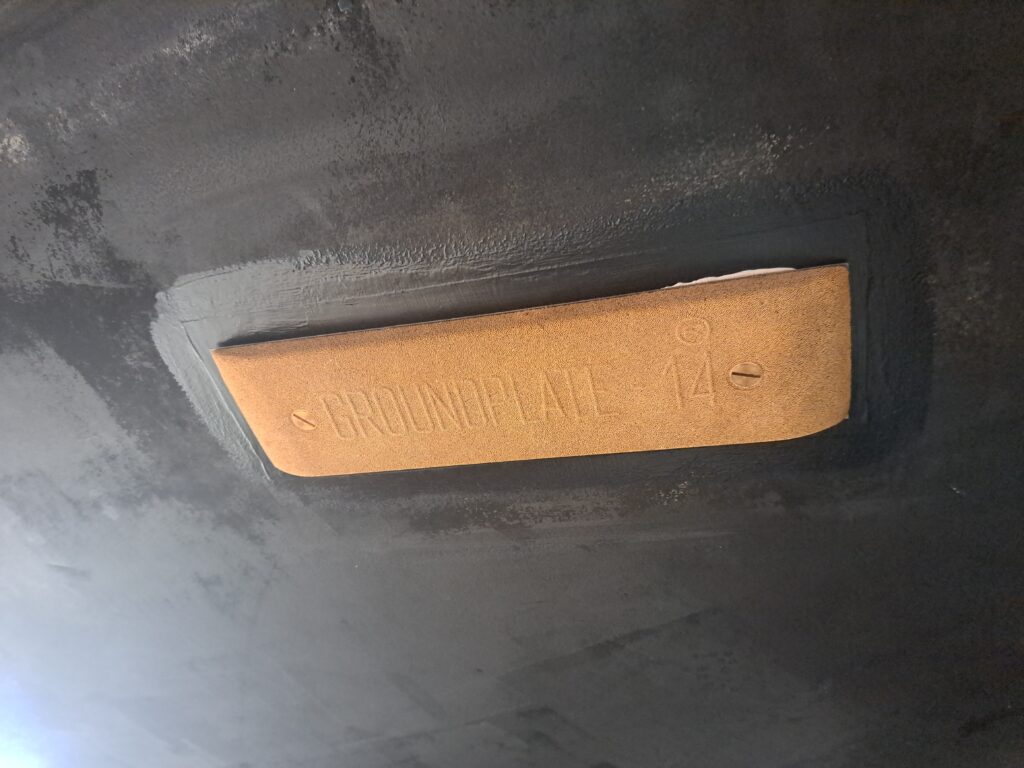
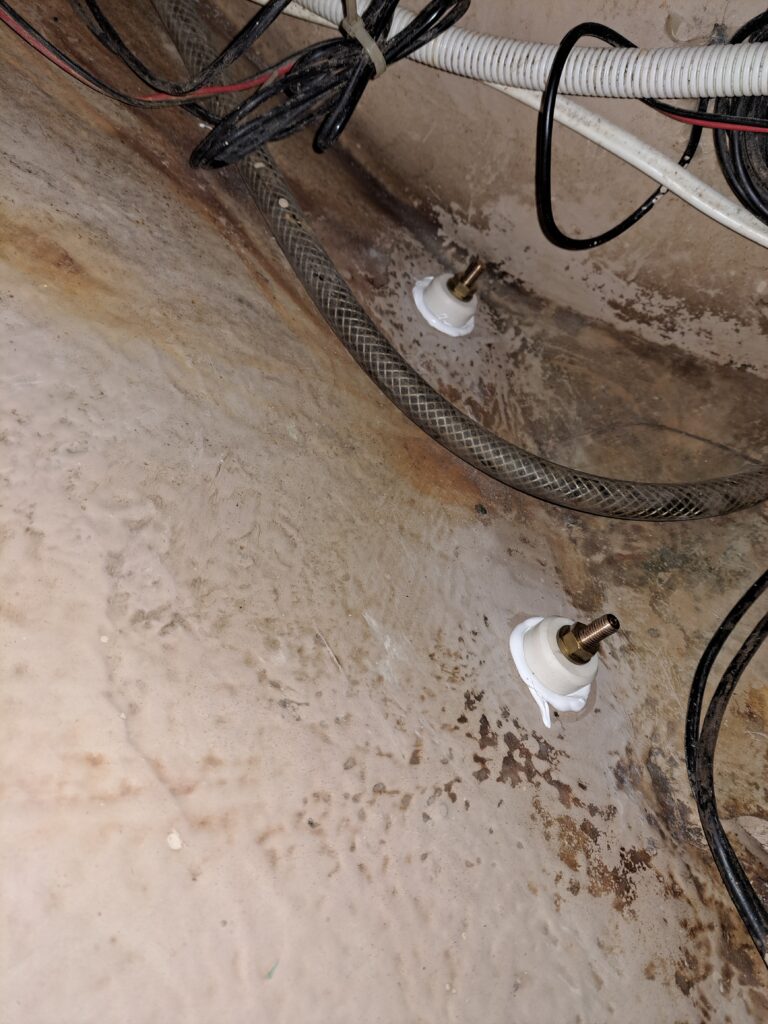
The ground plate is piece of bronze placed against the outside of the hull, below the waterline and used as a ground for the HF radio. Because it is maintained in place with screws running through the hull and has been in place for many years, we decided to remove it to inspect the conditions of the screw and redo the sealing. This was the initial idea at least. We ended up finding the exact same groundplate new on a second hand website for relatively cheap so we decided to also replace the groundplate.
During dismantling, we found that the balsa was left exposed in the screw holes. Although the balsa was dry, indicating that no water leaked inside the hole, we improved a little bit the installation of the ground plate by protecting the balsa with epoxy.
Replacement of diesel hoses
While we were working on the engine, we find out that some diesel pipes, actually the oldest ones still installed from the CAV filters to the injection pumps, had cracks on the surface. There is no need to wait for these to leake so we replace them and also replaced the small valves that are used to select which of the 2 CAV filters to use.
Replacement of fresh water cooling hoses
One of the hoses of the fresh water cooling system had cracks on the surface. That hose cracked because it made a sharp turn. Although it was not leaking yet we replaced that hose and all the other hoses of the fresh waster cooling system for our own peace of mind.
Check and replacement of bottom plug
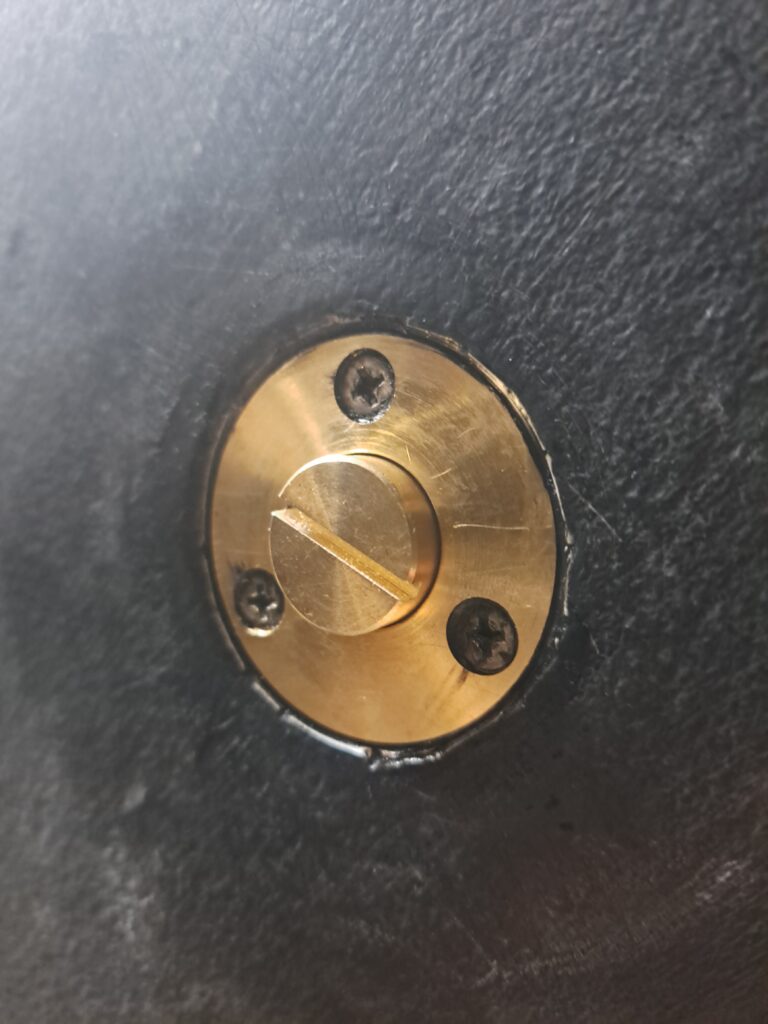
The bottom plug is a tap located on the keel that allows to empty the bilge when the boat in on land. Even though having a bottom plug means having an additional hole in the hull and therefore an additional risk of leak, the bottom plug is quite useful to have in Sweden to avoid accumulation of water in the bilge during winter that could freeze and make serious damages.
We were initially only interested in checking the conditions of the bottom plug and redo the sealing but we did not manage to remove the plug itself so we ended up replacing it with new one.

Reseal of chain plates
Last summer, during heavy rain and when sailing in rougher conditions with a lot of water on the deck, we observed that some water was coming in the bilge. After some investigation, we found that the water was coming from the hole of the chain plates despite the existing sealant. We removed all the covers on the deck surrounding the chain plates then removed the old sealant and reapply butyl.
